Decorator Secrets Series September


There are a lot of techniques out there to help simplify the art of hanging wall art… I know, bad pun. If you’ve tried to symmetrically line up pictures without a plan, I’m sure you’ve experienced some frustration. There always seems to be one or two pictures off. One’s slightly higher then the one next to it or off in some other way… The same could be said for asymmetrical installations; if something is off, it’s still really noticeable, right? Well, what if there was a super easy way to get your art up on the wall and aligned just the way you want it the first time? Best of all, you won't have to save this project for a long weekend cause you won't be patching and painting all the extra holes you would've made... Stop trying to eyeball where stuff goes. Let’s get into the right way to hang wall art so you can save time and leave your frustrations on the curb!
You probably noticed the subtitle above. This is a new series that I'm going to be writing once a month. The Decorator Secrets Series will be all about time saving techniques that will help you get small decorating projects done fast and with little frustration! Cool huh? This series will be a regular Thursday post, the third Thursday of each month. Don't worry, D.I.Y. Sunday will still be each week, so you won't miss gettin' crafty! Back to the blog...
This technique will work with any type of arrangement you wish to install whether it’s a symmetrical grouping or an asymmetrical grouping. It will work with any size wall or any shape of art that you wish to use.
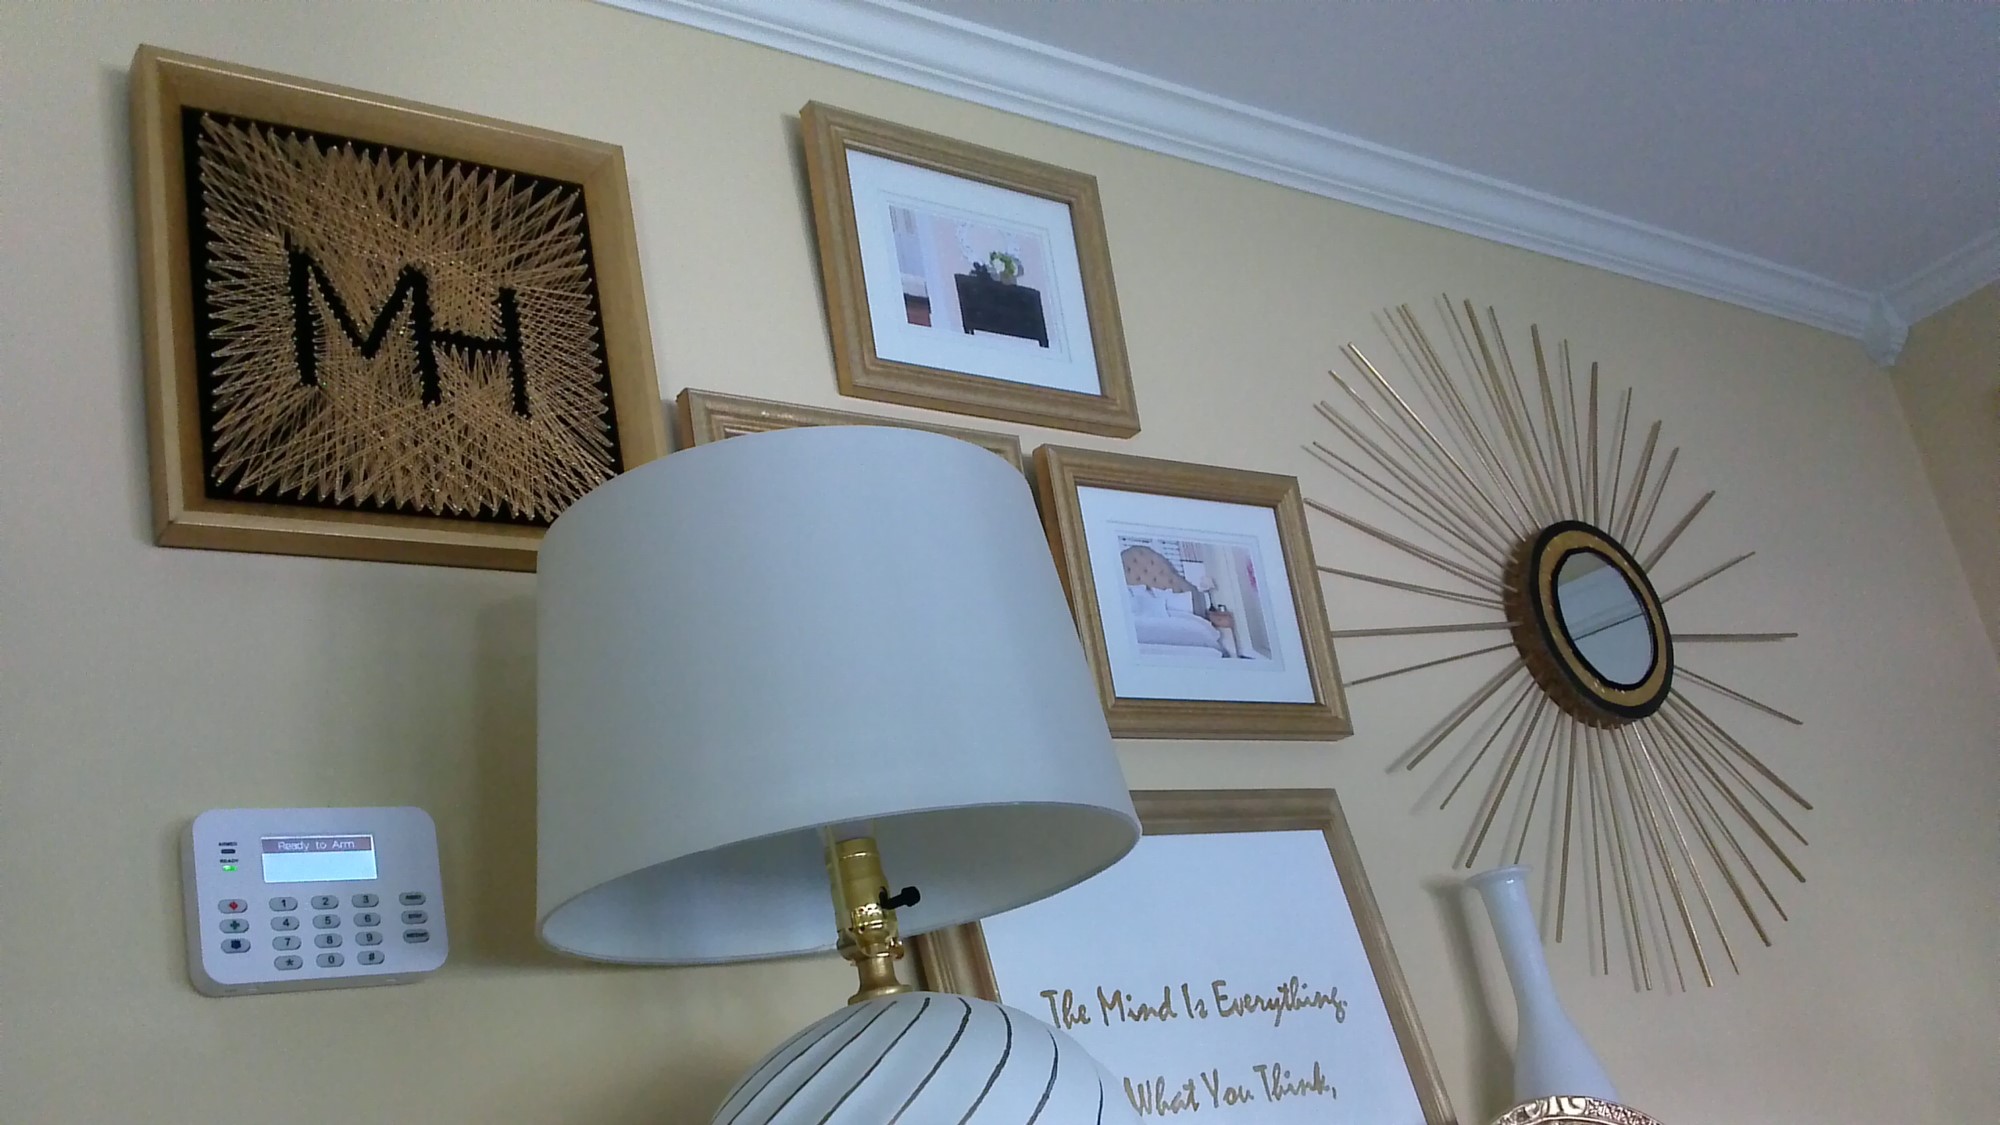
I chose to install an asymmetrical grouping on my wall. Here’s the skinny:
The Right Way To Hang Wall Art, 1: Make Templates
That’s right, make a paper template of each piece you want to hang. You can use newspaper, craft paper, printer paper, cardboard.
Lay your art on the paper and trace the shape onto the paper
Cut the shape out with scissors and write what the piece is so you know where to place it on the wall later.

The Right Way To Hang Wall Art, 2: Measure The Location Of The Picture Hangers.
Once you have your templates cut out, turn your picture or art work over and measure where the picture hanger is positioned on the back.
Measure down from the top of the piece and make a note of that measurement. Then measure the position of the hanger from either side of the piece as well.

The Right Way To Hang Wall Art, 3: Transfer The Measurements On To The Template.
After you’ve determined the measurements on the pieces themselves, transfer those measurements on to the front of the templates that you labeled earlier.

The Right Way To Hang Wall Art, 4: Place Tape On The Back Of Templates
I like to place my tape all along the back of my template so that when I put it on the wall it sticks evenly and lays flat against the wall. This is important so that you can see the spacing between each piece you place.

The Right Way To Hang Wall Art, 5: Place Your Templates On The Wall
Hang your templates on the wall and position them where you want them to be. Press the tape down so that all your pieces are flat against the wall. It’s so much easier to reposition a paper template on the wall rather than guessing at the position and making more holes than you need in your wall, right?
You may want to use a ruler or yard stick if you want your spacing to be exact between each piece.
And you might want to use a level to make sure each template is level if your installing pieces that are the same size and shape and if you want precise symmetry.

The Right Way To Hang Wall Art, 6: Pound A Nail On Each Template
Pound a nail each place you made a mark on the template. And then remove the templates from the wall. This will leave the exact position for each piece to be hung on the wall.

The Right Way To Hang Wall Art, 7: Hang Your Art Work
Place each piece on the wall and marvel at your creation! That’s it. With a little bit of prep before hand, you can get the perfect configuration for your art work or pictures. This technique has saved me tons of time over the years and eliminated the needless guess work of hanging art work!


If you enjoyed this post, give it a hearty thumbs up. If you try this technique out I’d love to hear how it turns out. You can get in contact with me by clicking on the contact button in the signature line of any of my posts – tell me all about it!
Know someone who’s about to tackle a picture installation, share this out to save them time!
Have you subscribed to my newsletter yet? If not, here’s what you’re missing:
As a subscriber you not only get to see my posts before everybody else – each week, you’ll get my weekly newsletter, subscribe right here, – delivered right to your inbox.
Each month I’ll show you special behind the scenes projects that I’m working on.
Tips and tricks and simple diy’s that I only share with my subscribers.
Don’t wait another minute! Click the green subscribe button and let’s get you inspired to create the home of your dreams!
Michael is Principal designer and blogger at Michael Helwig Interiors in beautiful Buffalo, New York. Since 2011, he’s a space planning expert, offering online interior e-design services for folks living in small homes, or for those with awkward and tricky layouts. He’s a frequent expert contributor to many National media publications and news outlets on topics related to decorating, interior design, diy projects, and more. Michael happily shares his experience to help folks avoid expensive mistakes and decorating disappointments. You can follow him on Pinterest, Instagram and Facebook @interiorsmh.