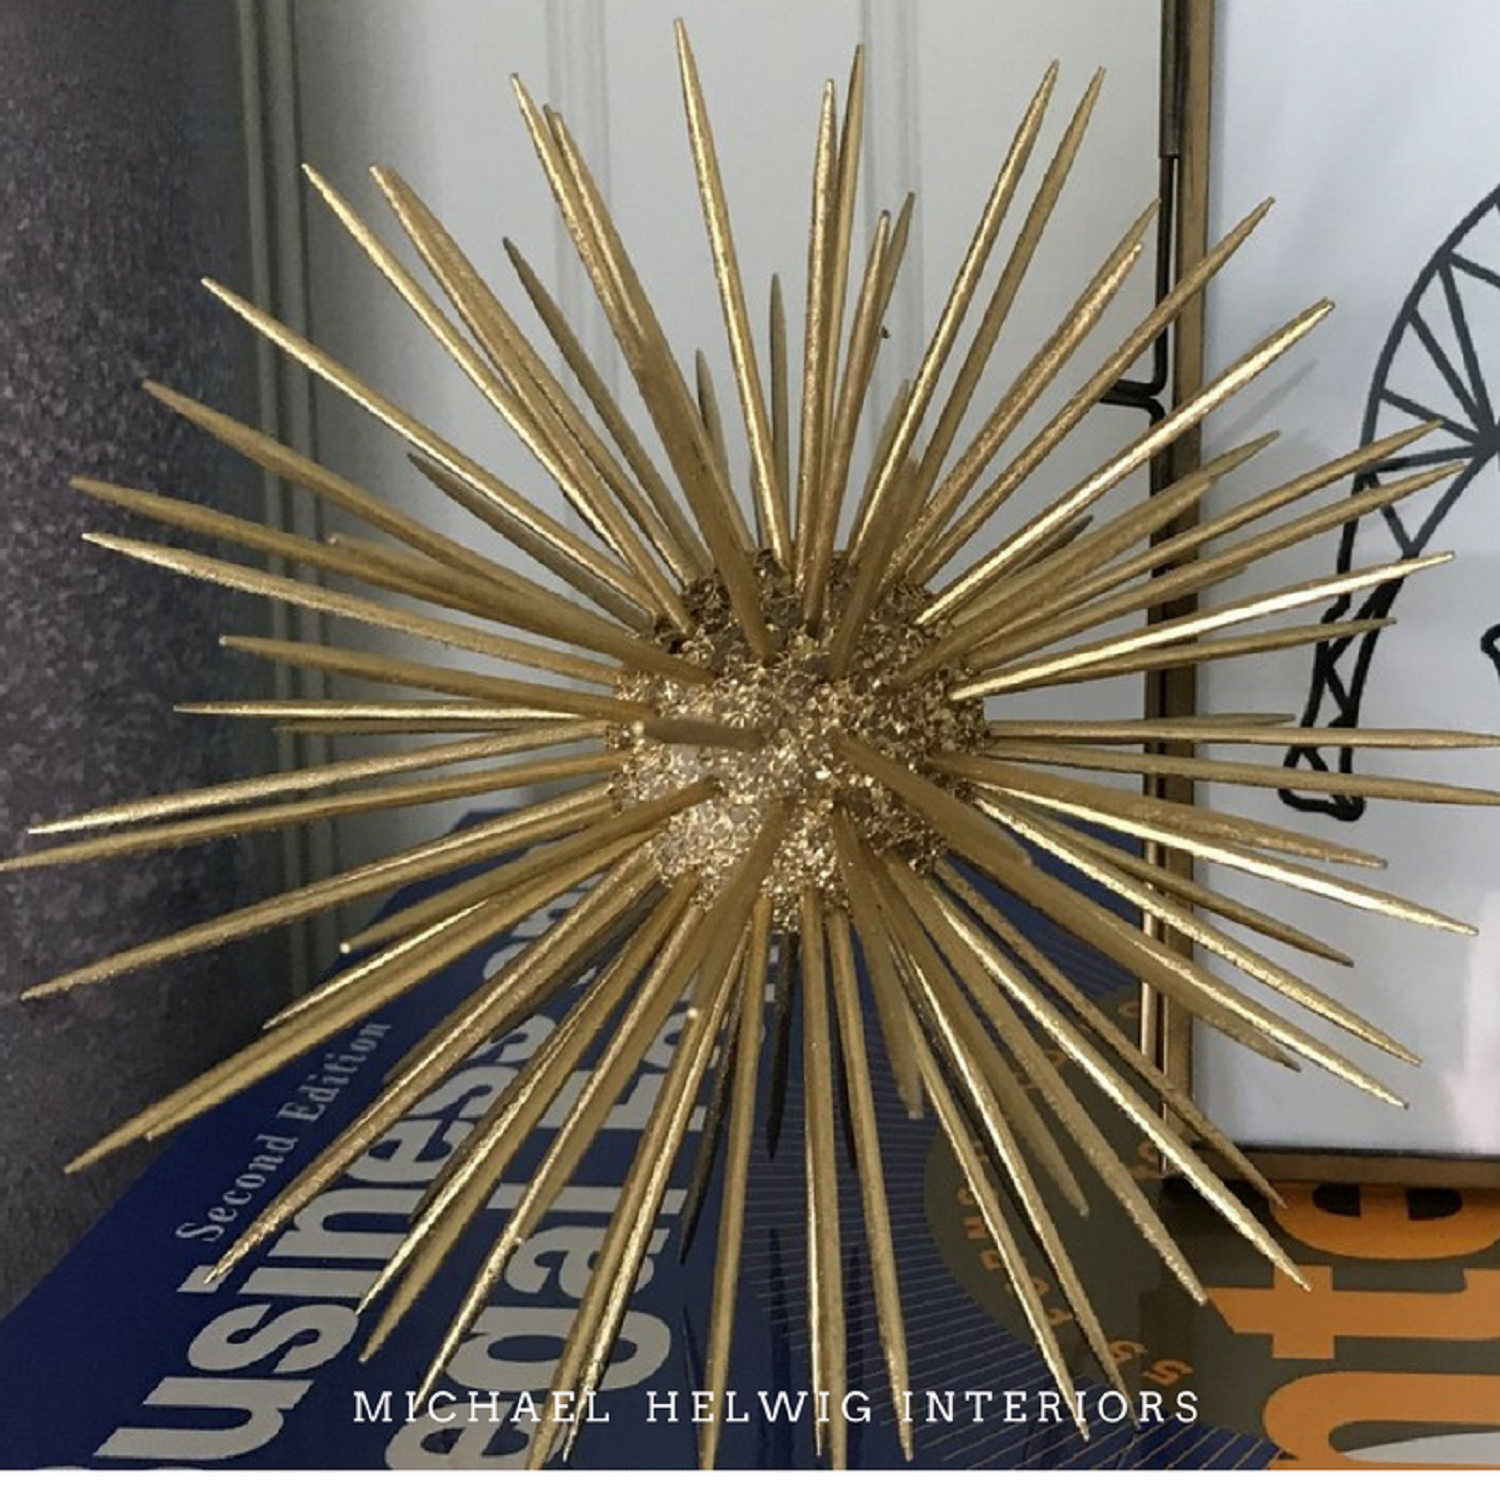
This diy is hot, hot, hot! And easy, easy, easy! You may have seen tons of tutorials on this kind of whimsical décor on tumblr and Youtube. I’ve seen metal versions go for as much as $30.00. Its one of those pieces that has legs, meaning it transcends seasons. You can place a bunch of them on a Christmas tree or put a few on a mantle for the holidays. I put mine on my book shelf in my office and it looks great all year round! They can be customized with any color you want, I’m sticking with gold cause I’m obsessed with gold, white and black accents at the moment… How much does it cost, you ask? Well, my Dears, you can diy this nifty little sculpture for under $5.00. $7.00 if you use a fancy paint. Wanna know how? Let’s get into making a diy Scoppio Sphere Sunburst Spike!
DIY Scoppio Sphere Sunburst Spike, Step 1: Gather Up Your Supplies
This diy is so easy you won’t believe it and the end result is so chic you’ll want to put them everywhere! Head on over to the Dollar Tree and pick up a few things:
A tube of toothpicks, they have them for 2 tubes for a dollar, 200 tooth picks in all. You will use about 100.
A bag of assorted Syrofoam balls in the floral isle. You’ll use one of the smallest in the bag, the 1.5” ball.
Stop at the Home Depot or Lowe’s and pick up a can of gold metallic spray paint (or any other color your heart desires!)
DIY Scoppio Sphere Sunburst Spike, Step 2: Construction
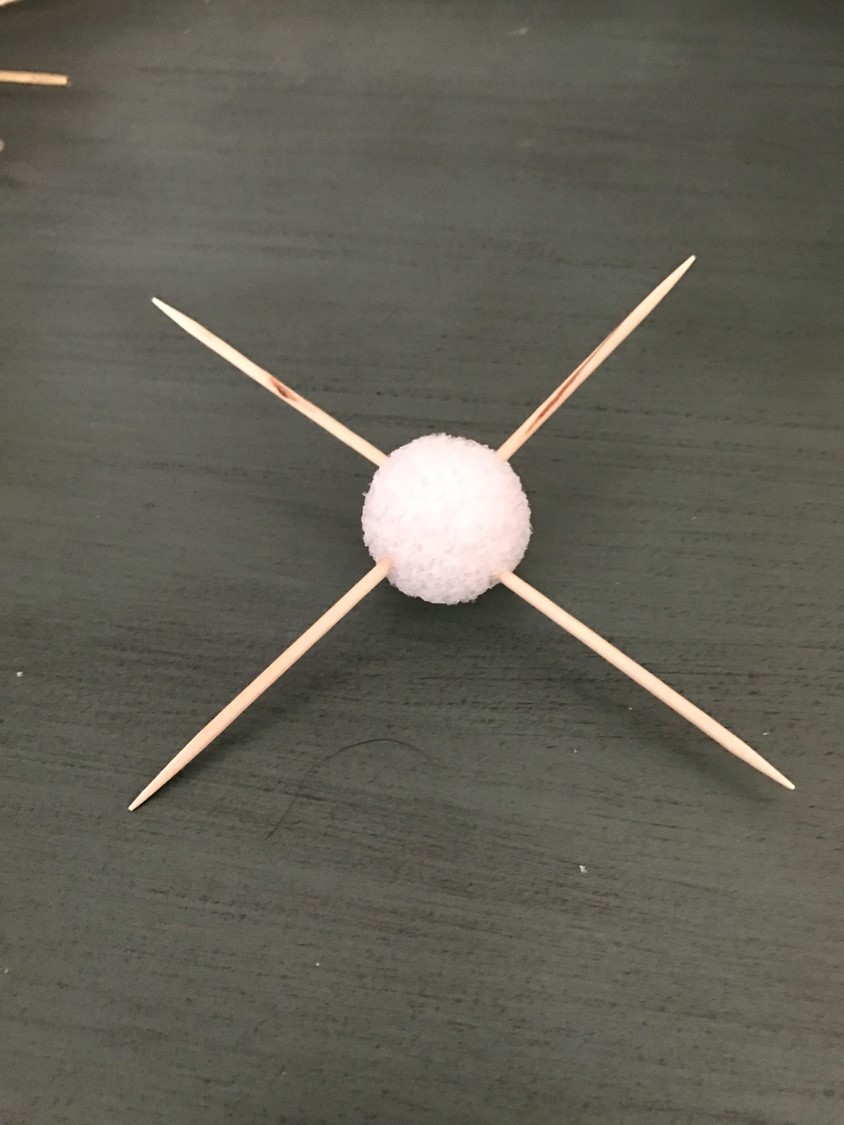
Take 4 toothpicks and pierce the foam ball with one toothpick at the North, South, East, and West. If you’re terrible with directions like me, that’s the top, bottom and two adjacent sides. Space them out evenly and just eyeball the placement. You want the toothpicks to be firmly in place but not jammed in too far. Figure about a ¼ inch in or so.
DIY Scoppio Sphere Sunburst Spike, Step 3: Repeat On Opposite Ends
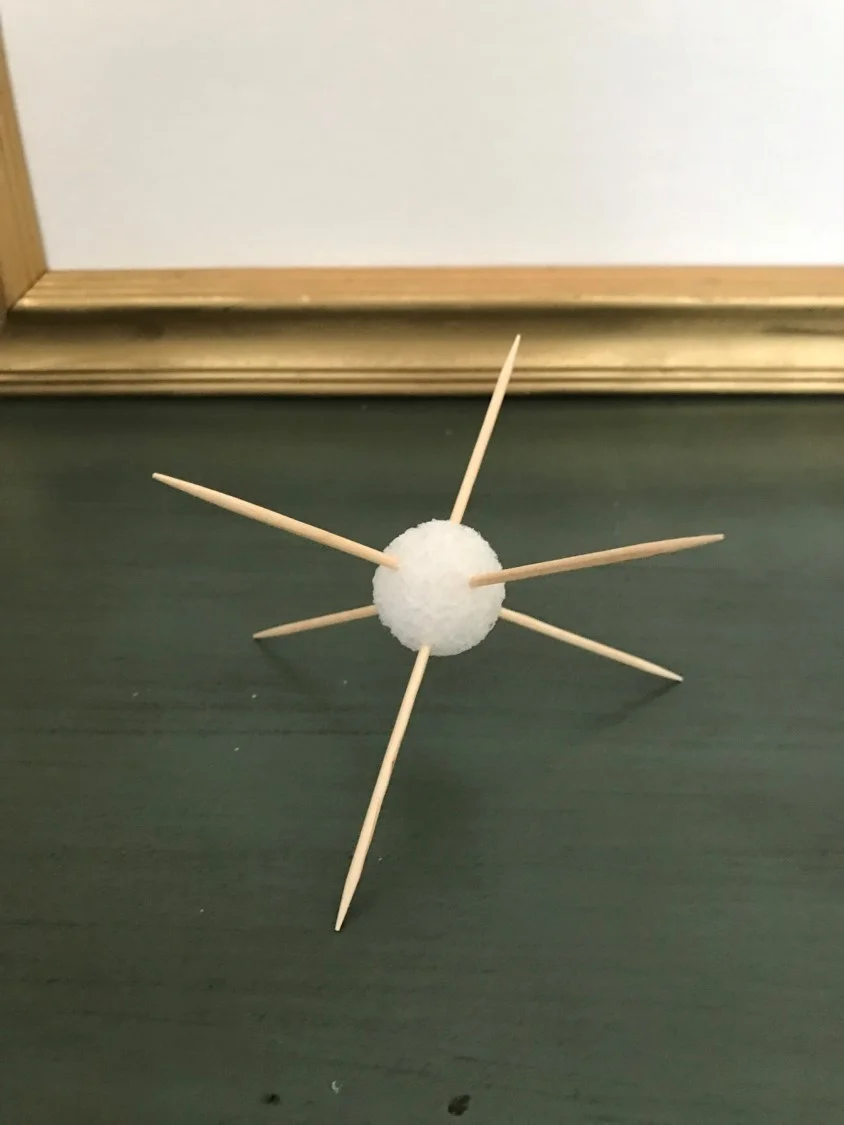
Next, stick 2 more toothpicks in the opposite sides of two of the first four. It doesn’t matter which sides. Then repeat placing the tooth picks on opposite sides until you have 16 toothpicks spaced evenly across form one another. Think of it as an equation, if you put a tooth pick on one side, put another on the opposite side in approximately the same position.
DIY Scoppio Sphere Sunburst Spike, Step 4: Fill In The Empty Space
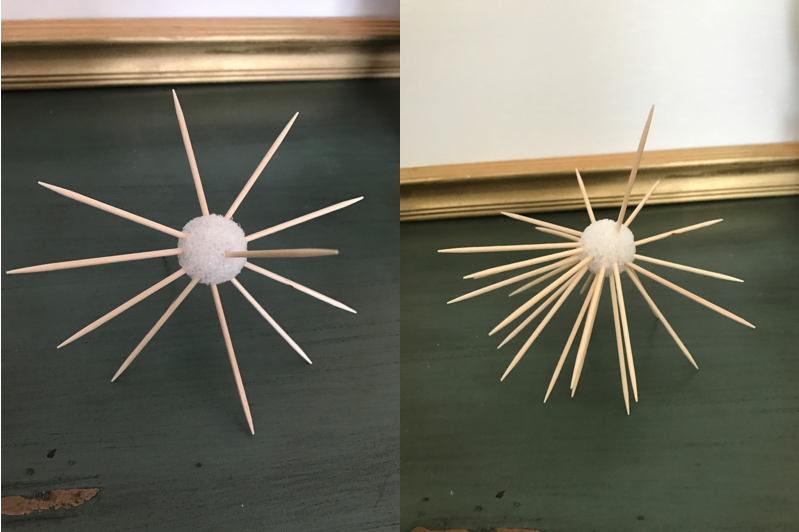
The last part of the construction phase is to fill in the spaces in between the toothpicks with more toothpicks until you have a nice full sphere that is even on all sides. Again, keep the idea that the toothpicks should be equal on all sides and you’ll have a great final presentation.
A word of caution: Be careful not to push the toothpicks too far in because as you add more picks, your foam ball with become stressed and it could break apart.
DIY Scoppio Sphere Sunburst Spike, Step 5: Spray it up!
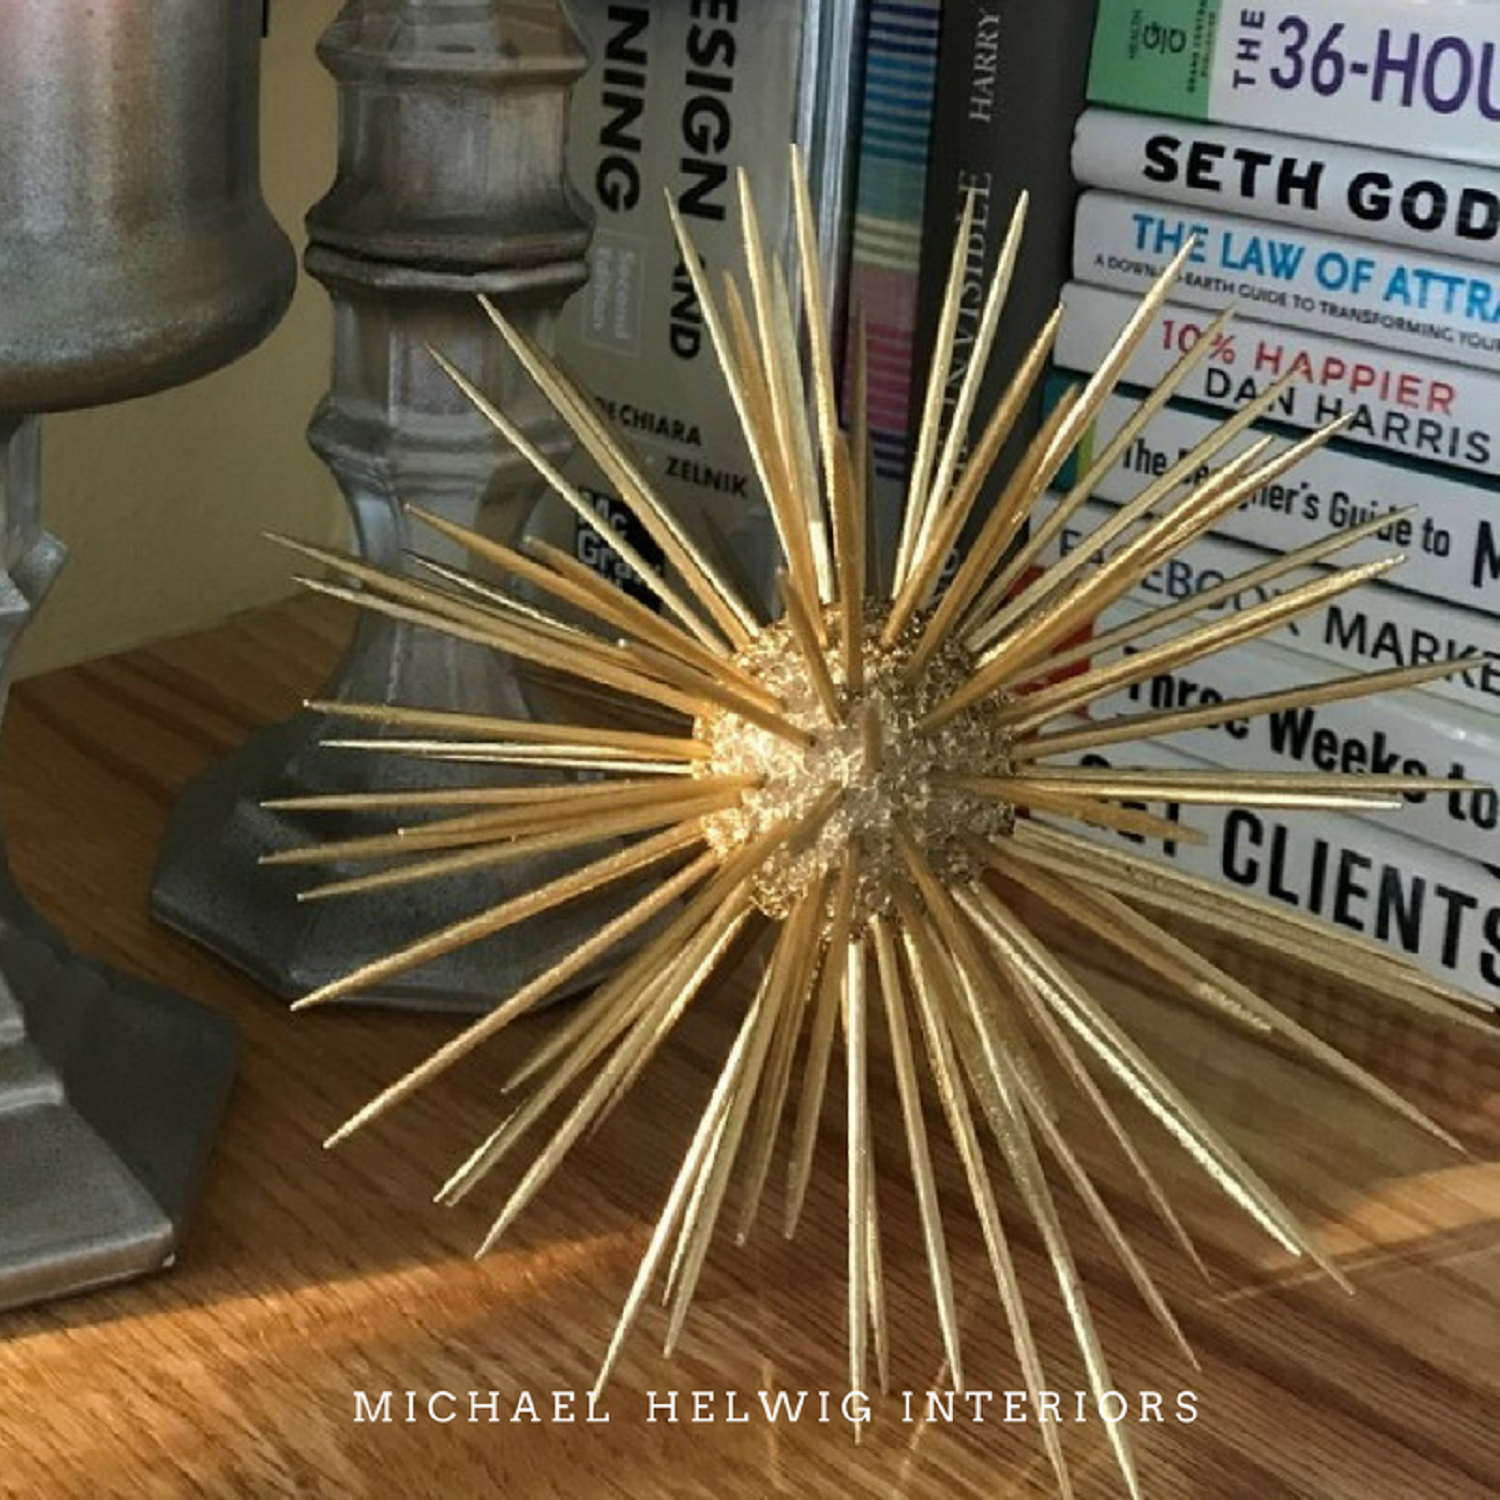
When you have the placement of all your toothpicks just right and even, go outside to a well ventilated area and give it a few coats of the spray paint you chose. Let each coat dry for about 10 minutes and then turn your spike in another direction and give it another coat. Repeat until it is covered completely and then give it a home!
Michael is Principal designer and blogger at Michael Helwig Interiors in beautiful Buffalo, New York. Since 2011, he’s a space planning expert, offering online interior e-design services for folks living in small homes, or for those with awkward and tricky layouts. He’s a frequent expert contributor to many National media publications and news outlets on topics related to decorating, interior design, diy projects, and more. Michael happily shares his experience to help folks avoid expensive mistakes and decorating disappointments. You can follow him on Pinterest, Instagram and Facebook @interiorsmh.


