By, Claire Sebastian
With almost no exception, better framing and mounting will do a lot to elevate any piece of wall art in your home. Think of the difference between a band poster that’s just taped to a teenager’s bedroom wall versus the same poster, framed and on display in a store or gallery. Sure, sticking art directly on a wall is a vibe of its own but most people would probably agree that framed art looks better or just integrates nicer into more spaces. It gives a much more elevated look, you know?
That said, there’s a reason why some people don’t frame their artworks by themselves. In short, it’s kind of tricky to get right… Professional framing requires a good deal of precision and artisanship. For some, the most convenient option is to order pre-framed art or to contact a professional framer to do the job. That said, if you want to give framing your art a go, choose an unfussy options, like a sleek, minimalist picture frame that brings out the best of your art pieces and that will fit in with your other décor.
So, if you want to make your wall art look great, I’m here to help! Try these tips so that your framing and mounting can bring out the best in your collection without damaging your wall or your art:
1. Choose the Right Frames
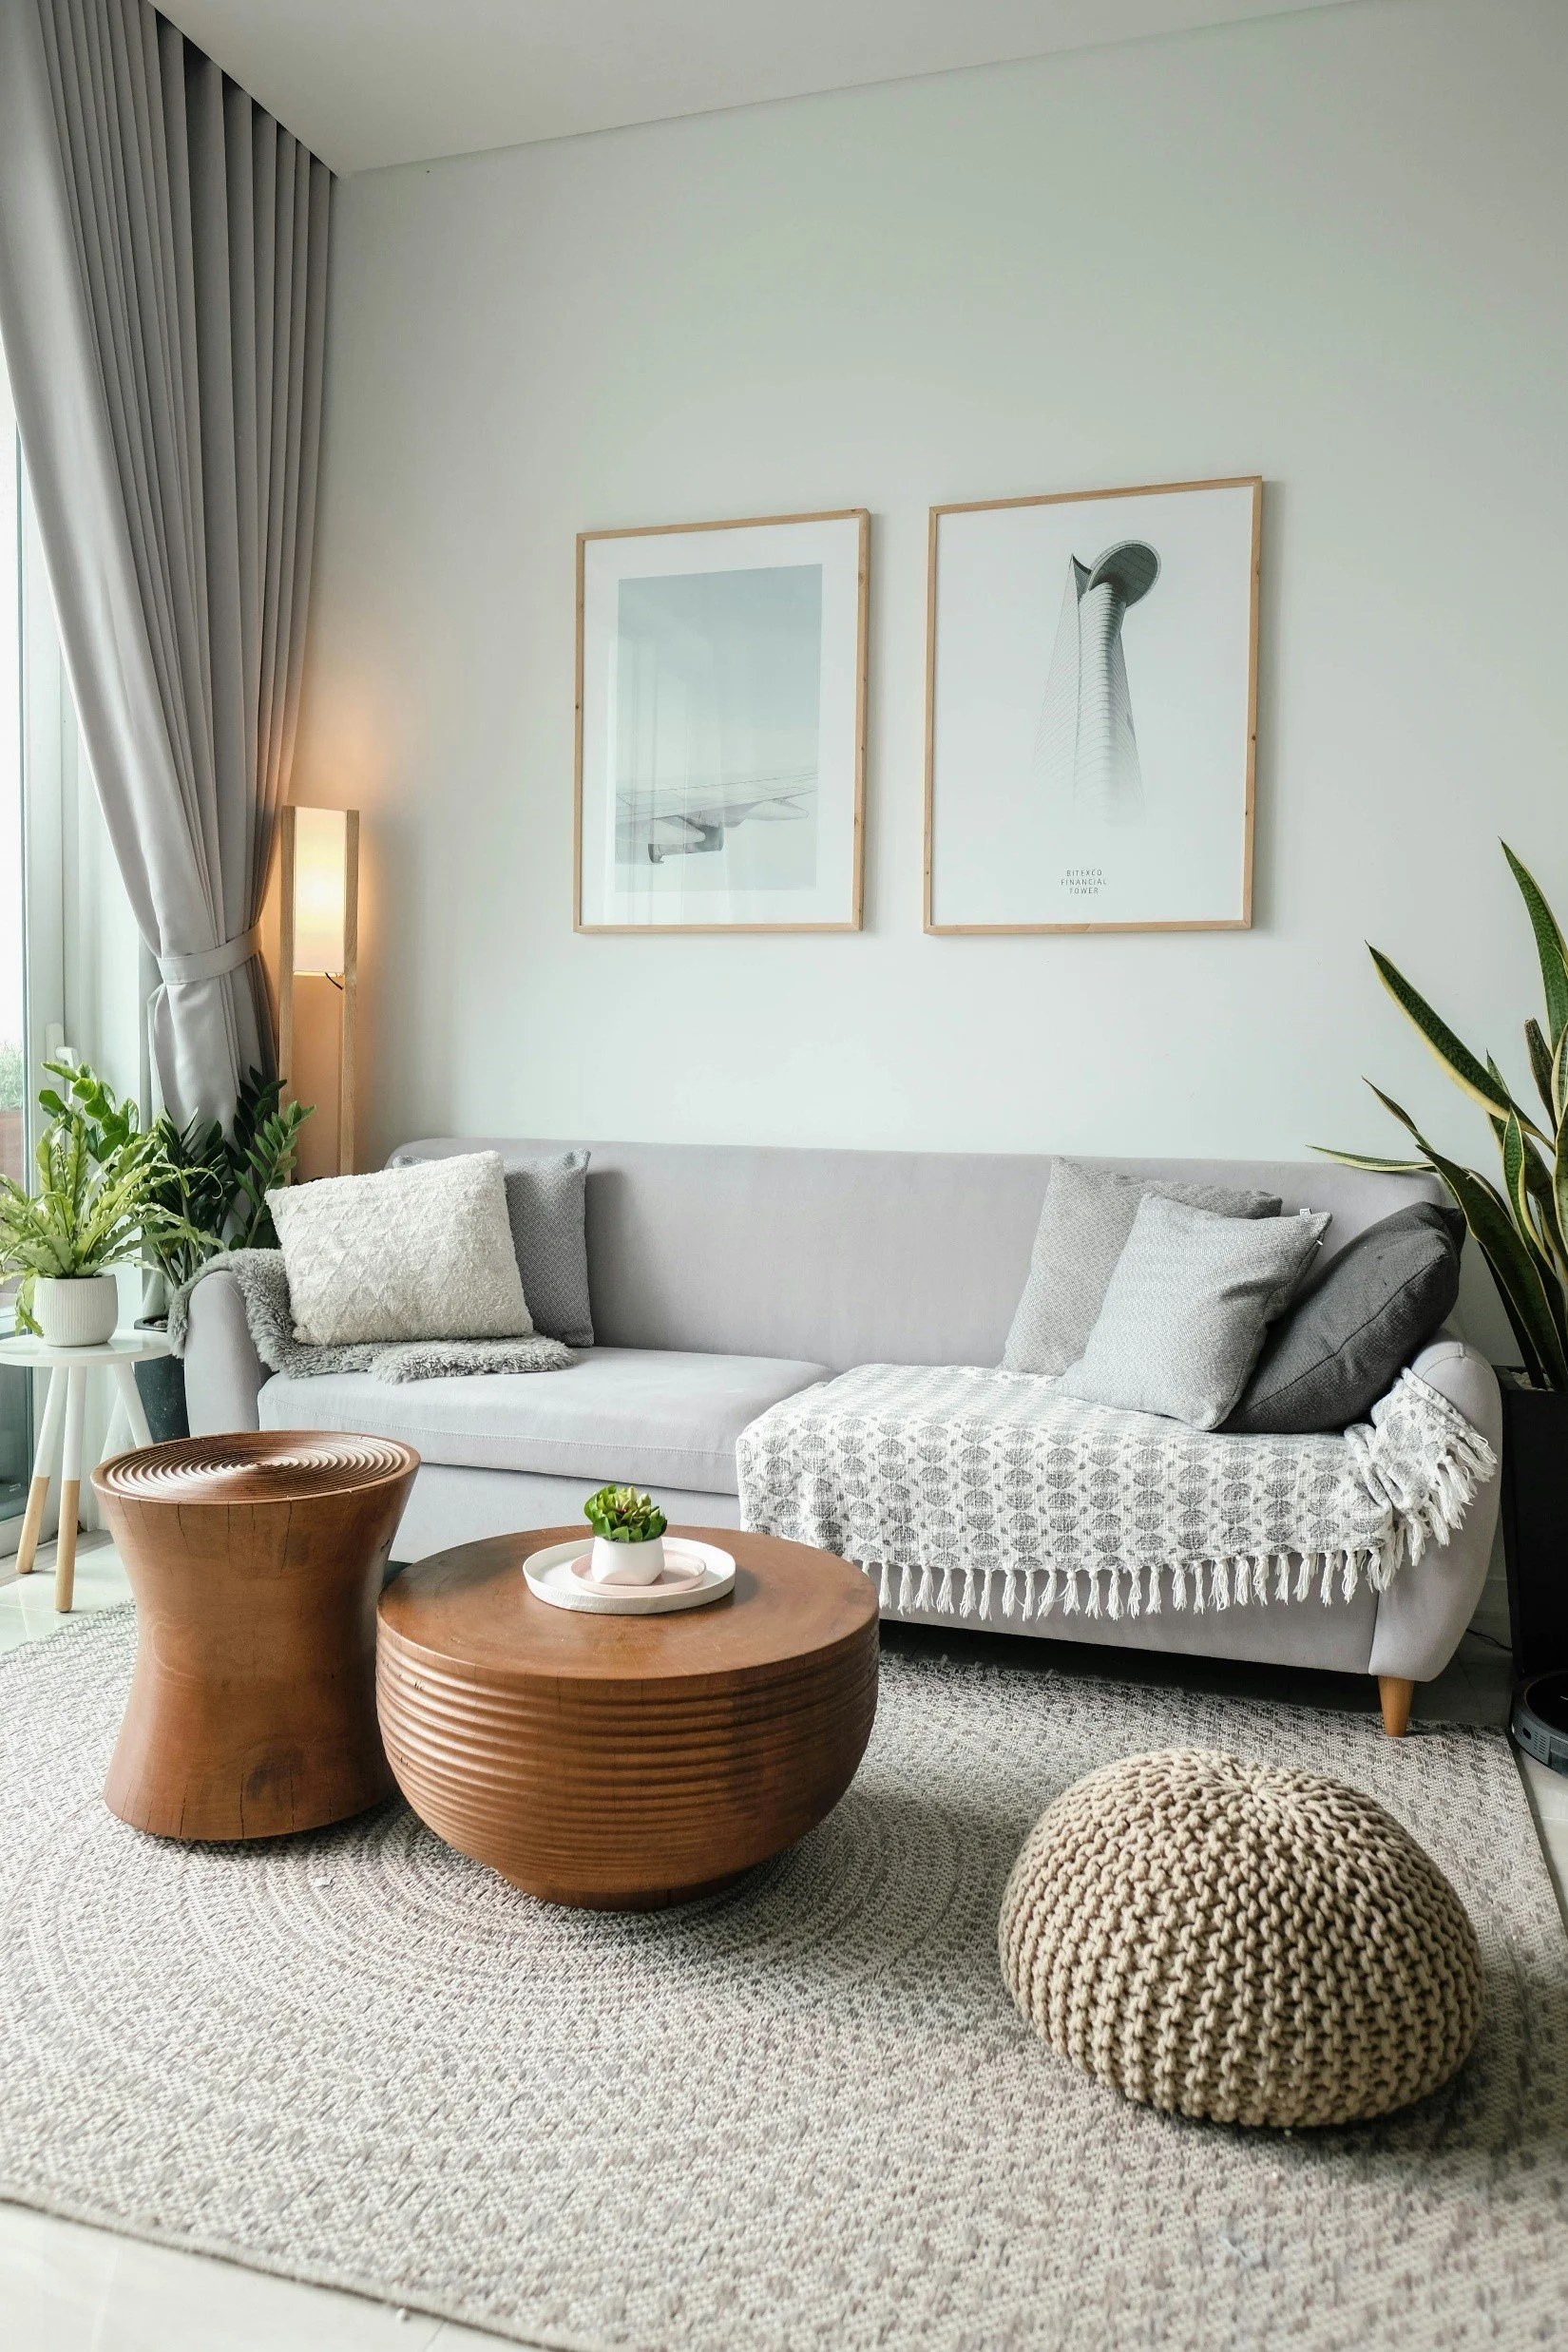
Ideally, the frame you choose should complement the whole display, not just the artwork it surrounds. Matching the color and design of the pieces that share wall space is generally a good idea to keep things coherent. Things don’t have to be exact, but it’s nice to have some consistency in terms of the art’s subject matter, color scheme, and frame and mat styles. Whichever style you need, choose high-quality frames with UV-resistant glass to prevent fading, especially if the room gets a good amount of sunlight.
Minh Pham
2. Use The Right Types of Wall Anchors for the Piece and the Wall
When mounting heavier pieces on plaster or drywall, expanding anchors is a must. This is even more important if you can’t attach the hardware to a wall stud. For brick or concrete walls, use a masonry bit to drill and insert plastic anchors before attaching the frame. Taking the time to pick the right anchors for your wall and the weight of the artwork will help you avoid unnecessary damage to your artwork, its frame, and anything that is positioned under it. The last thing you need is to have your heavy art crash down because you didn’t use the right wall anchors.
Los Muertos Crew
3. Consider Non-Invasive Mounting Techniques
If you’re especially concerned about marking or damaging walls, non-invasive mounting solutions, like adhesive strips or adhesive-backed hooks can be useful. Just be sure to buy good quality ones. Carefully read the packaging to make sure there is a maximum weight and don’t chance it by going over that limit. There are lots of options nowadays for these types of wall mounts but using the wrong ones for the job simply won’t hold weights above what they advertise.
Keep in mind that adhesive mounts are ultimately not as reliable as drilling and anchoring, especially on rough-textured walls, or in very humid climates.
Tip: If you must use adhesive mounts, you may want to use light weight frames like a poster style frame with plexiglass instead of glass. These types of frames will be lighter weight overall, even for larger pieces of art.
Roman Kraft
4. Handle Artwork Carefully During Framing and Mounting
When framing art, do your best to avoid touching the surface of prints, photographs, or paintings directly. Oils from your hands are corrosive to many kinds of pigments and paper, and it can potentially damage the artwork over time. That’s why professional framers often use gloves to handle art pieces.
If possible, it’s better to order any new art pre-framed. If you decide to DIY, be sure to use a fresh pair of gloves or to wash and dry your hands thoroughly before touching the piece.
Tip: When working the art into the frame, apply the pressure on the frame or mount, not on the artwork itself to avoid creases.
Cameron McGehee
5. Install an Acid-Free Backing Material in the Frame
A piece of acid-free backing material behind your artwork can prevent moisture, dust, and insects from reaching it. It also secures the art better within the frame and provides additional support to help to distribute the weight of the frame evenly against the wall.
To secure your art to the material, you’ll need acid-free tape instead of the usual clear plastic tape since the latter can potentially cause adhesive damage. This could occur if the plastic tape’s adhesive seeps through the art and shows a shadow or mark on the front of your piece. Acid-free tape will not do this.
cottonbro studio
6. Use Level Tools for Precision Mounting
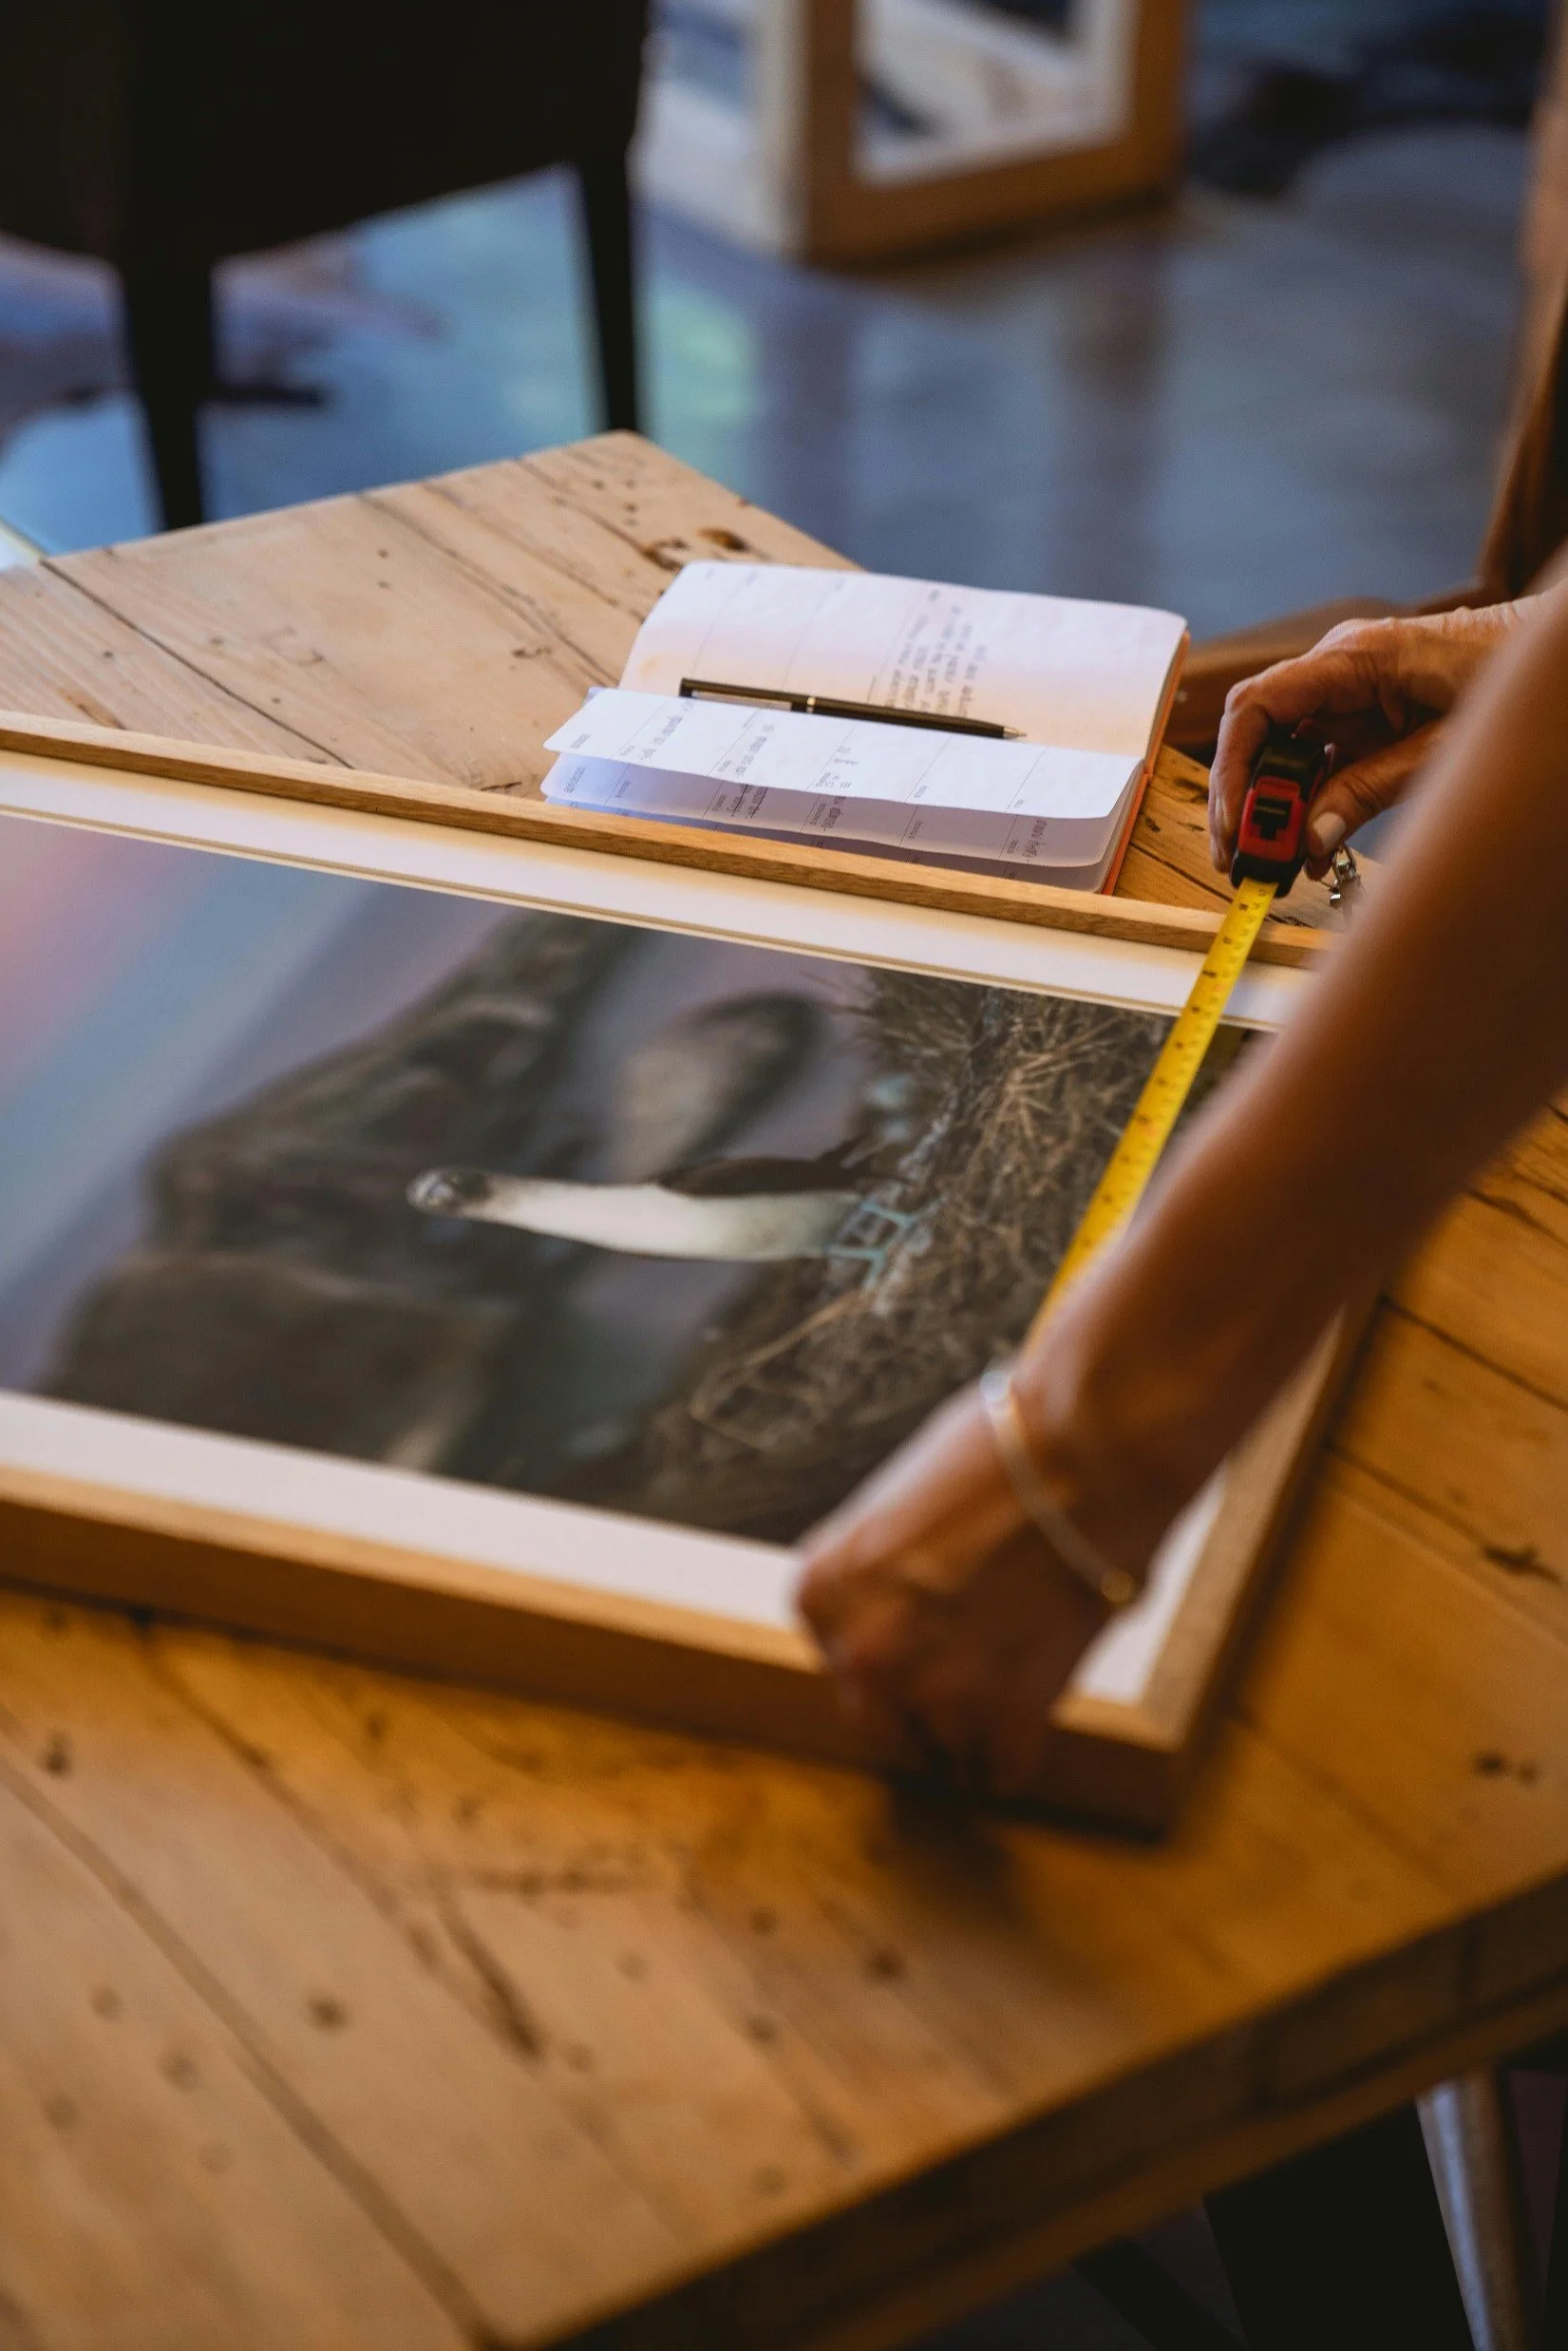
A spirit level or a levelling app on your phone should be used for mounting frames with precision and to increase the visual impact of your art. These tools are important for ensuring your frames are in alignment, especially for pieces displayed side by side. Using a level also protects your walls by reducing the need for putting too many holes in it. Accuracy is important, especially for very symmetrical looks or for precise spacing if you’re installing multiple frames of the same size. As the adage says, better to measure twice and drill once, right?
Ekaterina Kobzareva
7. Avoid Direct Sunlight
Though photographs, prints, and water-based pigments are especially prone to fading, all art will be damaged if it’s in direct sunlight every day. So, place the art that you want to protect in spots that don’t receive direct sunlight, or use a UV-blocking glaze to filter harmful rays.
If you have the budget, you could go one step further by installing UV-blocking glass on your room’s windows. That way your carpets, upholstery, and art will be protected for years to come.
Mizzu Cho
8. Protect Walls with Felt Pads or Bumpers
If you have delicate walls, you can place felt or rubber pads on the corners of your frames to protect both the wall and the frame. These are particularly useful when you have wallpapered walls since even moving the frame slightly could cause an ugly scratch. The same goes for walls with matte finish paint or lime-washed wall treatments.
Los Muertos Crew
9. Regularly Check Your Mounts and Frames
Wall fixtures and adhesives can come loose over time due to humidity and temperature changes. Look at your frames and mounting hardware every other month or so to make sure they’re still secure. If you notice any loosening, take whatever steps are necessary to prevent damage to your art or your wall.
Protect Your Art Investments with Smarter Framing and Mounting
I get it—framing and mounting art can take a lot of effort. But it should be done right if you want to preserve the aesthetic and value of your art collection. Making the effort to protect both your artwork and your walls will allow you to enjoy your collection without worry for many years.
Read Next:
Sunscreen Blinds: Protect Your Home from Harmful UV Rays
Looking to boost comfort and style in your home? Sunscreen blinds offer a great mix of practicality and elegance. Discover how they can keep your space cooler, reduce glare, and add a sleek touch to your decor. Perfect for creating a more enjoyable home!
Join the Fun!
If you enjoyed this post and you want to keep seeing my weekly blog, the best way to do that is to subscribe.
You can subscribe by downloading my 11 Secrets Only Designers Know to Make Your Space Rock. If you’re curious about how decorators and designers make a home look magazine ready, you’ll love taking a gander at these 11 secrets. You’ll learn how to style your room from the floor up and it will work for ANY space you have.
I write about small space design and decorating, sustainable furniture options, positive self care and a variety of do-it-yourself home décor.
I’d love to connect with you!
“Michael Helwig was top-notch, very professional and responsive to my needs. He allowed me time to explore ideas and try out a variety of combinations until we found the perfect fit. Michael provided detailed information and offered beautiful ideas to make my dream living room become a reality. The furniture he sourced has totally transformed my living room space. Everyone that has seen my new living room has one word, WOW! A special thank you to Michael for a wonderful experience.”
“Michael was very knowledgeable and guided us, with great patience and good humor, through the process of designing our dining room and helping us find the perfect sleeper sofa. He offered really helpful advice when we asked questions - which was often - but at no time did we ever feel pushed. He helped me when I felt like I couldn’t make one more decision. When my new furniture finally arrived I realized everything down to the pillows was perfect. I couldn’t be happier!”
Curtis Adams
Claire Sebastian is a design expert and consultant with a passion for creating functional and aesthetic workspaces. She is especially interested in the ways design can improve productivity and well-being in professional environments. During her free time, she likes to take nature photos and go on hikes with her family.


