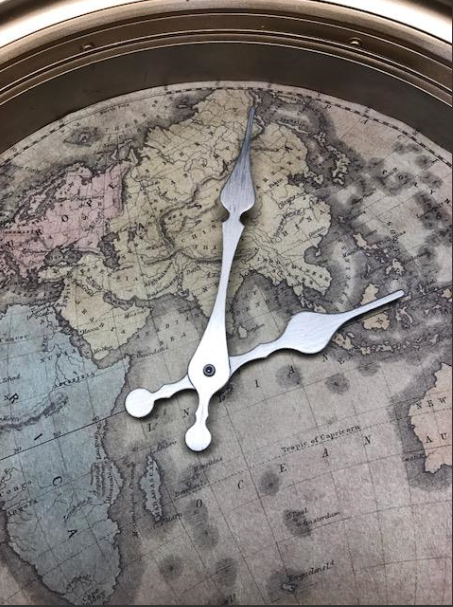
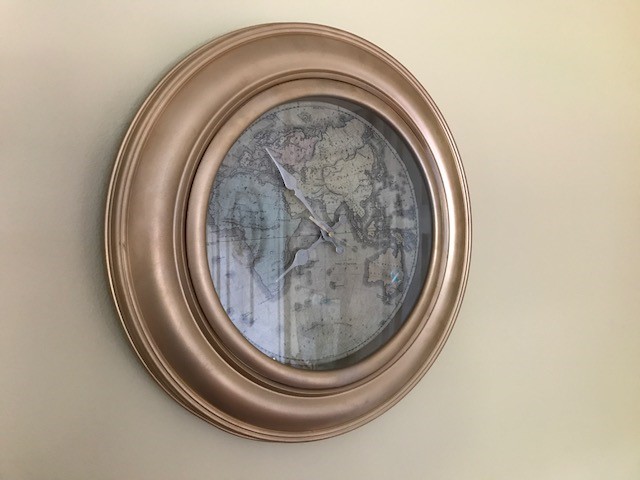
One of the hottest trends in home décor this year is the world map. If you’ve ever dreamed of traveling the world in 60 seconds, like Elon Musk will probably have us doing in 12 months, then you’re going to love this Sunday diy! It’s a pretty easy one this week. I got the idea for this one from Mad Stuff With Rob. I modified my design a bit. He’s got some pretty cool diy’s on his channel. I’ll link to the video at the end. Let’s make a world map clock with airplane second hand. Ready, let’s go!
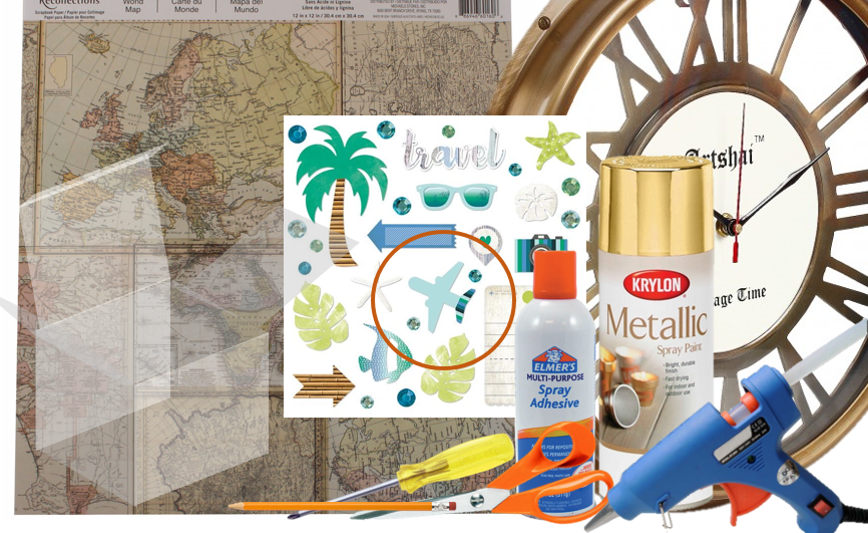
The supplies that you’ll need for this project are:
A world map print scrap book paper.
1 Old clock with a battery pack, a thrift store number will do.
A clear packaging box – the kind any type of consumer electronics will come in – yep recycling!
A travel themed sheet of stickers with an above view of a small airplane
Some spray paint – optional
A Phillips screwdriver,
A pair of scissors
A pencil
Some spary advesive
Hot Glue Gun And Glue Sticks
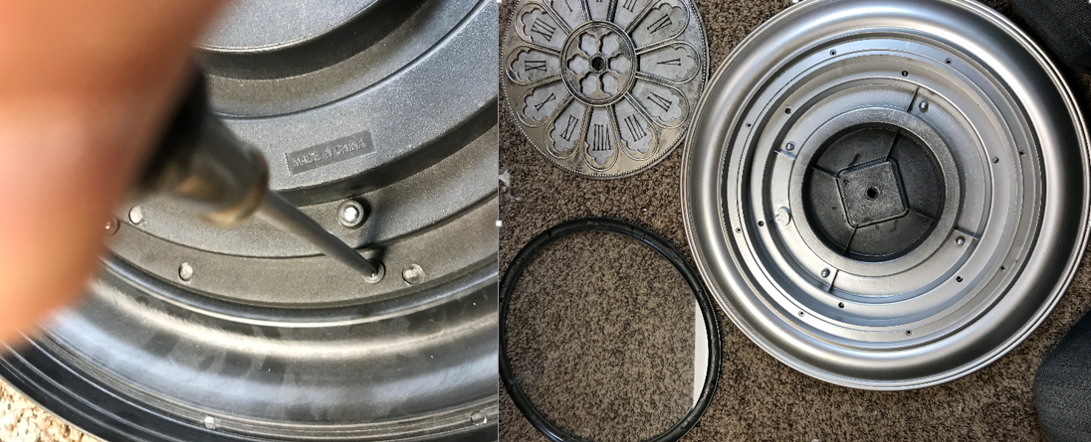
World Clock Map And Airplane DIY, Step 1, Take Clock Apart:
Start by flipping your clock over and unscrewing the housing so you can access the inside.
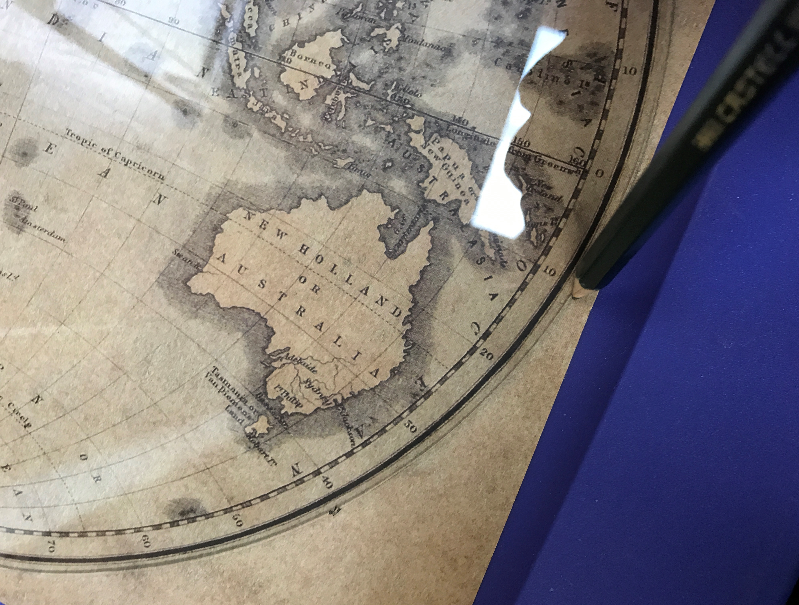
World Clock Map And Airplane DIY, Step 2, Determine Size Of Background:
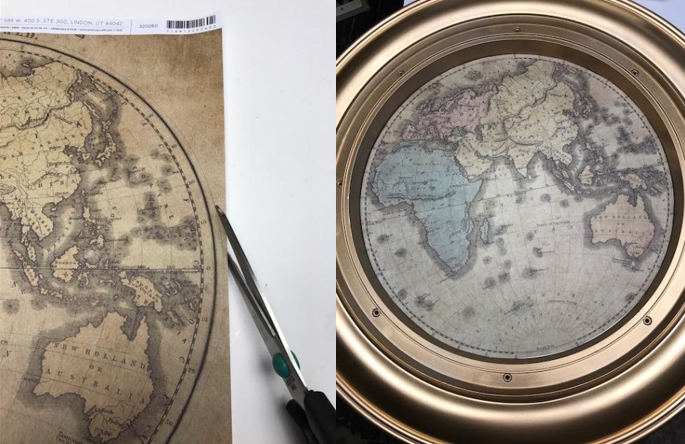
If you have glass or plastic as the outside cover of the clock face, trace the circumference around on to the map scrap book paper. This is going to give you the round shape of the inside backing of your clock face.
It will probably be necessary to trim the shape down so it will fit into the housing, you’ll see a bit later..
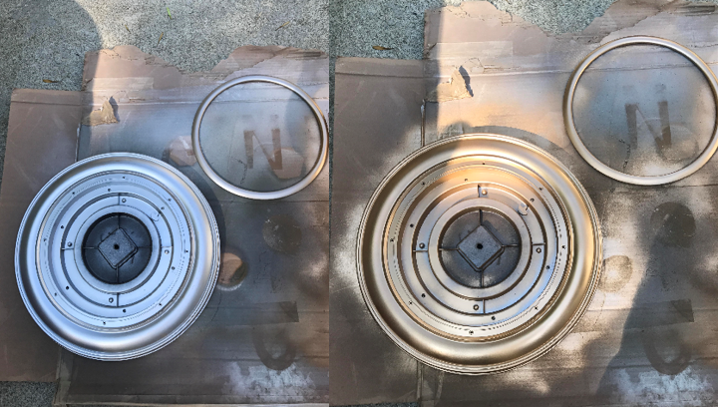
World Clock Map And Airplane DIY, Step 3, Spray The Housing:
Take your clock body and any other exterior housing outside and give it a spray with your spray paint. This step is optional, If you like the color of your clock, skip it. You know me, gold is my jam, so that’s what I did.
World Clock Map And Airplane DIY, Step 4, Fit Your Map To Clock:
After your housing dries, about 15 -20 minutes, you can bring it back inside and fit your paper map inside the housing. This is where you’ll probably have to do some trimming to get the paper to fit nicely. I trimmed a little off at a time so I didn’t cut too much off at once. I then positioned the paper back in the housing and if I needed to cut a bit more, I did.
World Clock Map And Airplane DIY, Step 5, Find The Center:
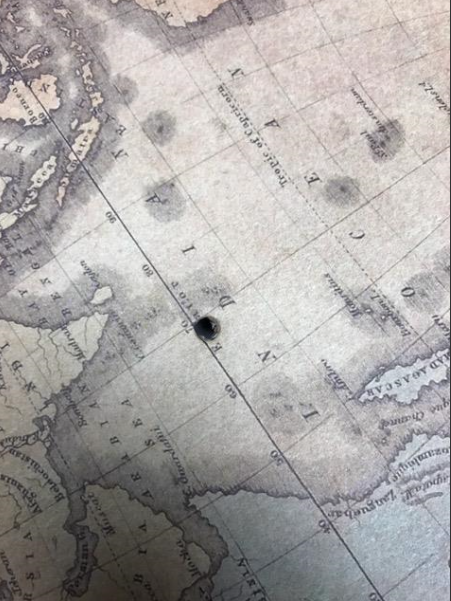
When you have your paper positioned where you want it, find the center of the clock and poke a hole with your pencil. It’s easy to find this: position your paper, feel around the back of the housing where the clock works hole is and poke through from the front making the hole big enough so that the clock works will fit through the center of the clock again.
World Clock Map And Airplane DIY, Step 6, Glue Map Paper In Place:
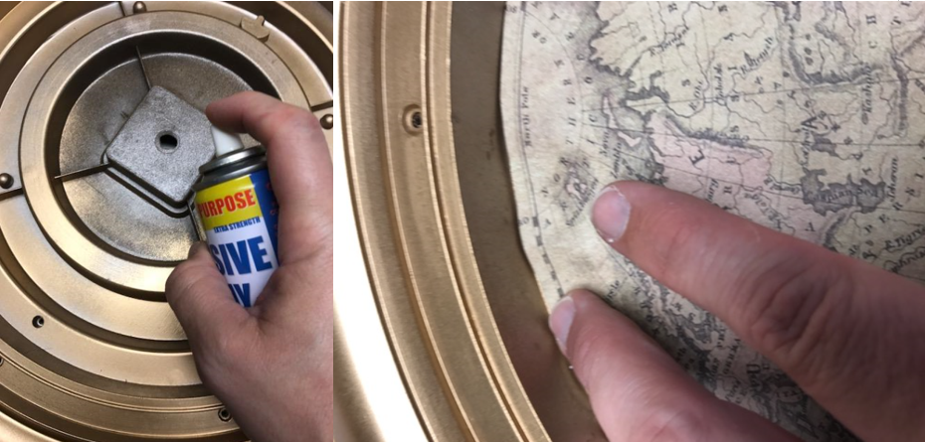
Lightly coat the inside of the housing with some spray adhesive and position your map paper so that the center lines up and so that all the edges meet the edges of the inside of the housing. You may have to carefully work a few little air bubbles out, just smooth those out gently and it will be all good!
World Clock Map And Airplane DIY, Step 7, Reattach Clock Works:
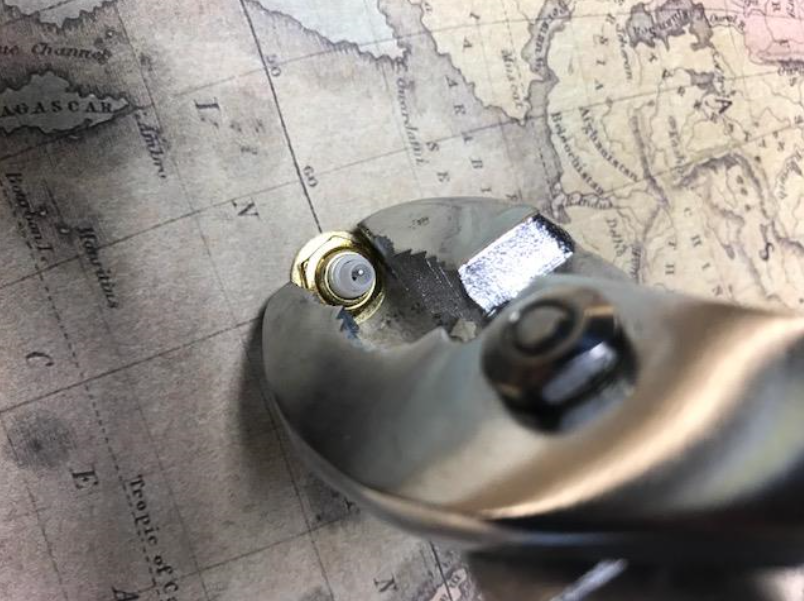
Give your spray adhesive a few minutes to dry and then reattach your clock works the same way you took it off. The stem attached to the battery pack goes through the hole in the center. After that you place the washer over the clock works stem on the outside and finally, tighten it down with the nut so that the housing is secure. I gave mine a twist with a pair of pliers but you may be able to hand tighten it easily.
World Clock Map And Airplane DIY, Step 8, Reattach Hour and Minute Hands:
Put your hour hand on first and then your longer minute hand can go on after that. They will snap in place where they fit on the clock works.
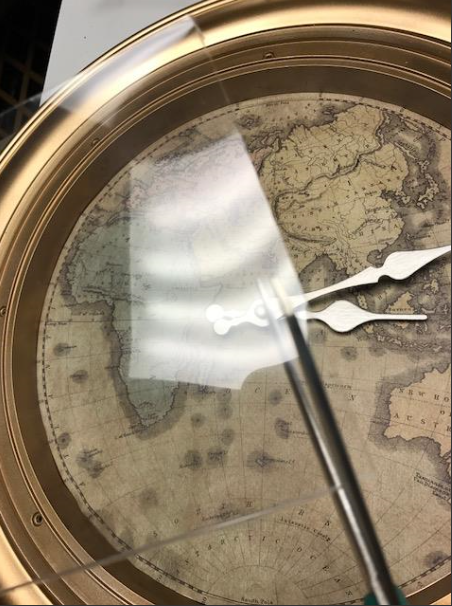
World Clock Map And Airplane DIY, Step 9, Cut A Straight Piece Of Clear Box:
You were probably wondering what we were doing with the electronics plastic box? Well, this is where you create the transparent second hand that makes the airplane fly around the world. Aww the whimsy!
Cut a straight piece
Measure out approximately 1/6” width and then carefully cut that width down the length of the piece.
You want your second hand to be this thin so that the second mechanism will easily move your plane around the map. If it’s too heavy, it may not rotate all the way around.
World Clock Map And Airplane DIY, Step 10, Cut Second hand To Size:
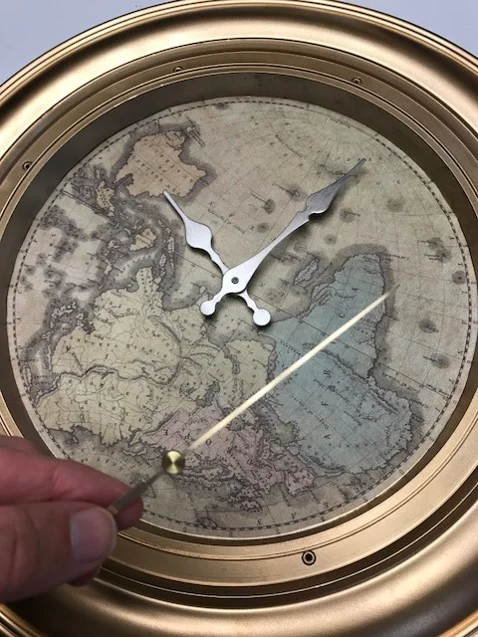
Line up your second hand with the clear 1/16” inch piece of clear box and cut the clear box piece to the length of your second hand.
Then cut the second hand stem off at the base of the hand. My clock had a round button that attaches into the mechanism. I simply snipped off the hand at the base of the button.
You want your new, transparent second hand to be the same length as your original so that it will rotate correctly.
World Clock Map And Airplane DIY, Step 11, Glue Second Hand and Attach Airplane Sticker:
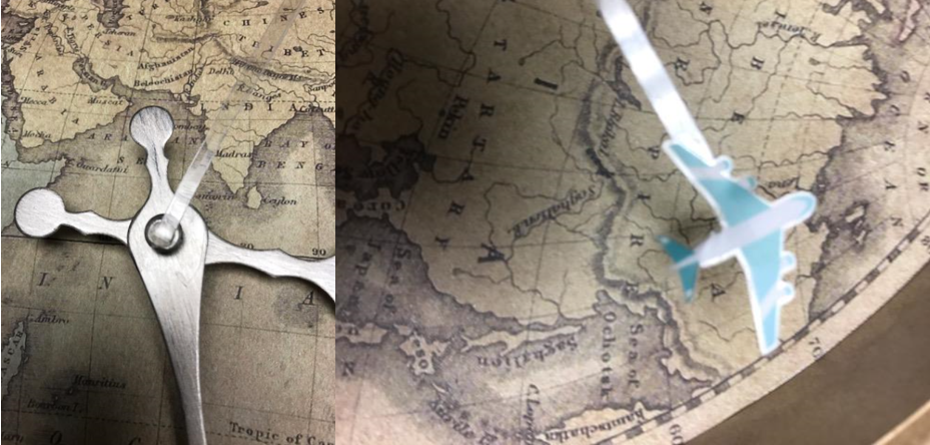
Place a dot of hot glue on the head of the second hand button and glue down one end of your clear second hand. Attach the airplane sticker to the other side. Put your battery into the back side of the clock works and make sure the second hand rotates around the clock without hitting either of the two other hands. Adjust by gently bending up the second hand or bending down the other two hands.
World Clock Map And Airplane DIY, Step 12, Put The Clock Together And Hang On The Wall:
Once you have your hands working properly, screw the housing back together just like you took it apart and hand it up on the wall to enjoy! That’s it, you made a diy World map Clock. Now start dreaming about all the Places you’re going to visit or remember where you’ve been!
I’d love to hear what you think about this Sunday diy project. Leave me a comment below and if you liked it, give it a thumbs up! Know someone who’d like to make this? Pass it along! Share it out on the socials!
Thank you so much for reading this week and until next time, make something amazing!
P.S. Here's Mad Stuff With Rob's Video, Enjoy!
Michael is Principal designer and blogger at Michael Helwig Interiors in beautiful Buffalo, New York. Since 2011, he’s a space planning expert, offering online interior e-design services for folks living in small homes, or for those with awkward and tricky layouts. He’s a frequent expert contributor to many National media publications and news outlets on topics related to decorating, interior design, diy projects, and more. Michael happily shares his experience to help folks avoid expensive mistakes and decorating disappointments. You can follow him on Pinterest, Instagram and Facebook @interiorsmh.

