I guess I’m really stuck on this crystal thing lately. I came across this idea when I was searching through some wall art ideas for a client who loves geodes and natural rock formations. All of the pieces I found were quite expensive, I’m talking almost $400.00. Granted they were the real deal and beautiful. Now full disclosure, I saw a tutorial for how to make these out of polymer clay and I was like, sign me up for that! I gave it a whirl and just about burned the house down… Guess I’m not too handy with polymer clay. Plan B: paper crafts, much more my forte! Now if you don’t have $400.00 to drop on some awesome agate slice wall art, just keep the money in the bank cause I’m gonna show you how to make this grouping for under $15.00 including everything shown. Impossible you say? Well naysayers be gone! Let’s get into how to make some gilded edge paper agate wall art!
Gilded Edge Paper Agate Wall Art: Supplies
You may have most of the stuff for this project around the house but if you don’t, you can get it at your local craft store and/or Dollar Tree store. Here’s the list:
4 picture frames with mats included. I used 4x7 but you can use bigger if you want. Dollar Tree!
Decorative paper, enough to line the back of frames. 2 sheets for 4x7: Michael’s
A bag of white sand: Dollar Tree
Glue stick: Dollar Tree
Scissors (Had)
Printer paper, 2 sheets (Had)
Mod Podge Glossy Luster: Dollar Tree
Masking tape: (Had)
An old corrugated cardboard box (Had)
Gold paint, I like Martha Stewart brand: Michael’s
Foam brush: Michael’s
Computer printed agate pictures. FREE, Google

Total Cost: $13.71, including NYS sales tax!
Gilded Edge Paper Agate Wall Art: Print & Cut Out Images
The first step to making the agate wall art is to find a set of 4 pictures online that you really like. I found these gold and white ones and I really liked the shapes and swirls of colors in them.
Try to find pictures with a decent resolution where you can see the details. Don’t worry too much about the size because you can resize the image in MS Office or whatever word processing package you use.
Find images with a white or light colored background. It makes it easier to see the edges of the picture and you won’t get the dark lines around the image. If you can’t find a light background don’t worry too much because you can cover the darker edges, as you will see later.
Next Print the pictures out to the size you want and then cut the images out as close to the edge of each. If there are holes in your image, cut those out as well. It really amps up the realistic look in the end!

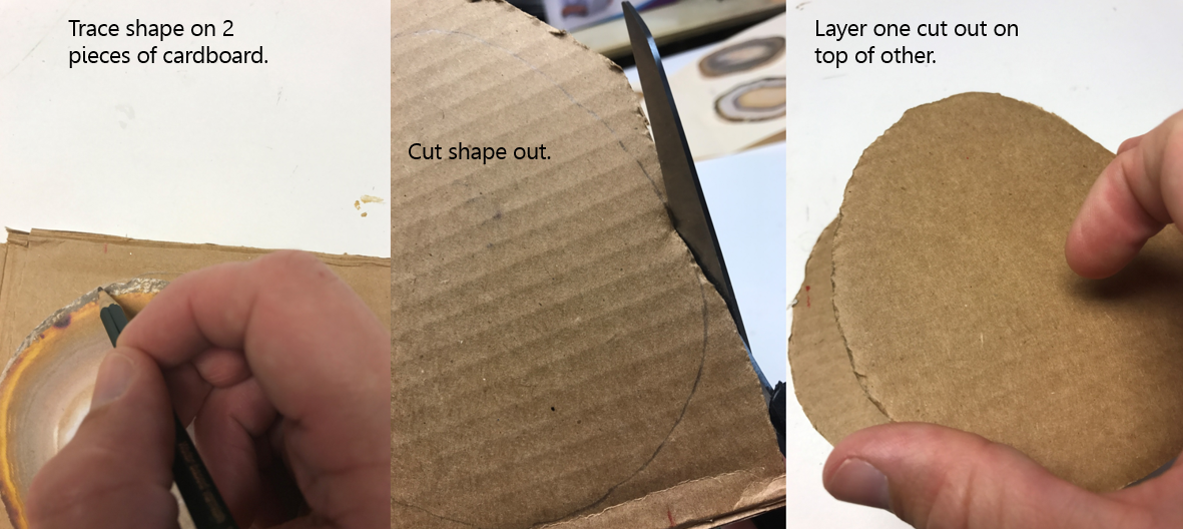
Gilded Edge Paper Agate Wall Art: Trace And Cut Out Cardboard
Now trace your cut out agate pictures on a piece of cardboard twice and then cut out the two pieces. Layer one piece of cut out cardboard on top of the other, lining up the shapes so they match exactly.
Gilded Edge Paper Agate Wall Art: Tape Cardboard Pieces Together
Once you have your cut out cardboard layered together, tape them together with a piece of masking tape. Adjust your shapes if needed so they line up and then continue to tape the shapes together, covering all the sides and front of the shape. It should look like the picture below when finished.

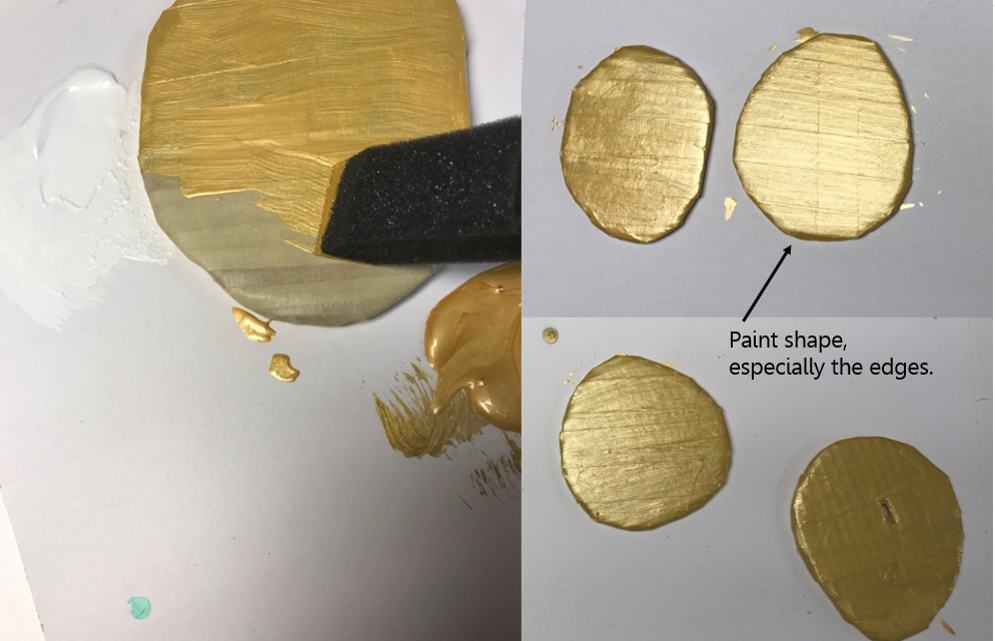
Gilded Edge Paper Agate Wall Art: Paint Cardboard Pieces
After you have all of your pieces taped up, paint them with your gold paint. Make sure to cover the edges and give the front a coat as well. You should only need one coat of paint but that will depend on the actual paint you use. Ideally you want your shapes covered with no bare tape or cardboard showing through anywhere.
Gilded Edge Paper Agate Wall Art: Coat With Mod Podge
Let your painted pieces dry to the touch, about 2 hours give or so. Once your pieces are dry, coat them with a generous amount of Mod Podge and do the same to the back side of your printed cut out agate shapes. (I did this one by one, coating the shapes and then my cut out agate slices that matched the painted cardboard shape.)

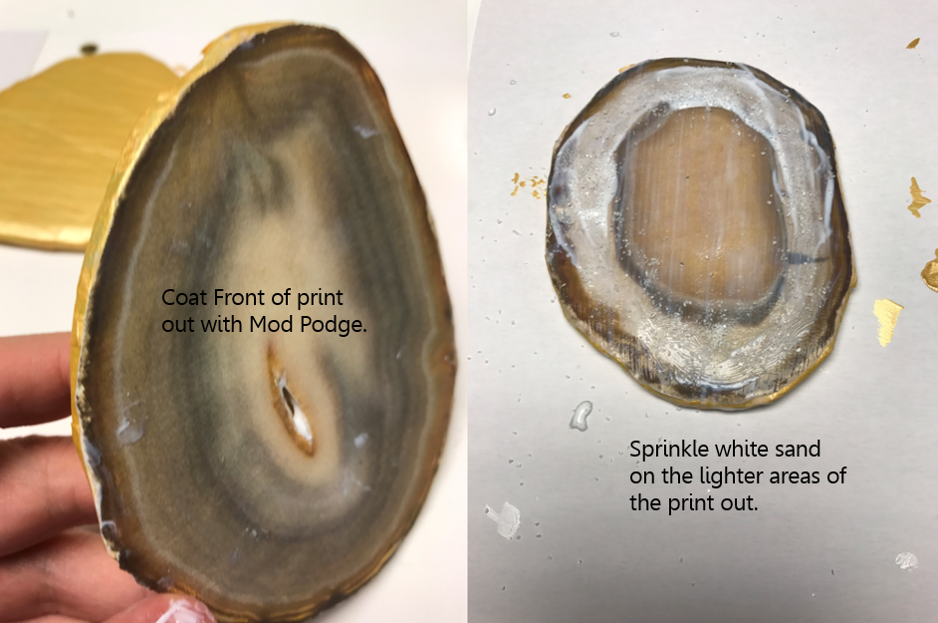
Gilded Edge Paper Agate Wall Art: Position Cut Outs On To Cardboard
Line up your cut out agate with it’s corresponding painted cardboard shape and then cover the front of the print out with a generous coat of Mod Podge.
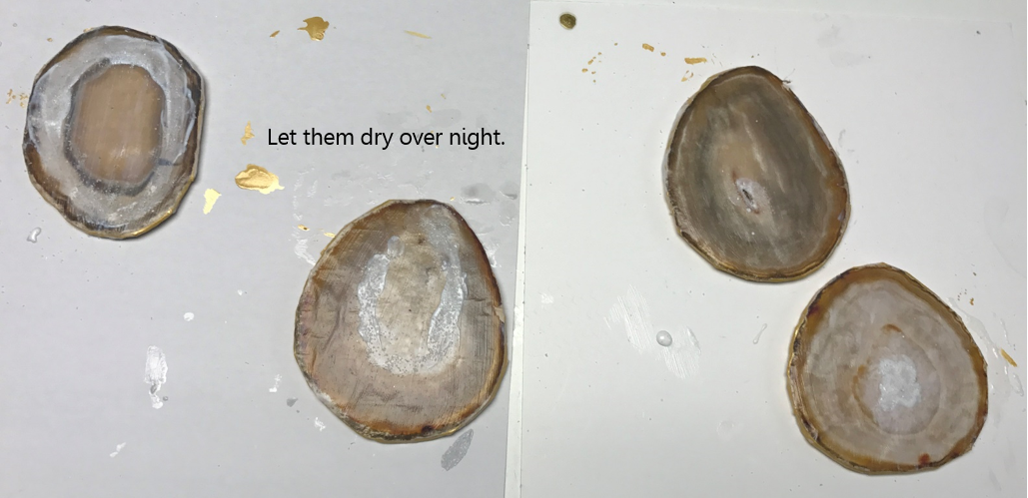
Next take a pinch of the white sand and sprinkle small amounts around on the front of the agate slice where the lighter areas are. Do this while the Mod Podge is still wet. Let your creation dry for about an hour and then give each slice another generous Coat of Mod Podge and let that dry for 8 hours or overnight.
Gilded Edge Paper Agate Wall Art: Prepare Your Frames And Backgrounds
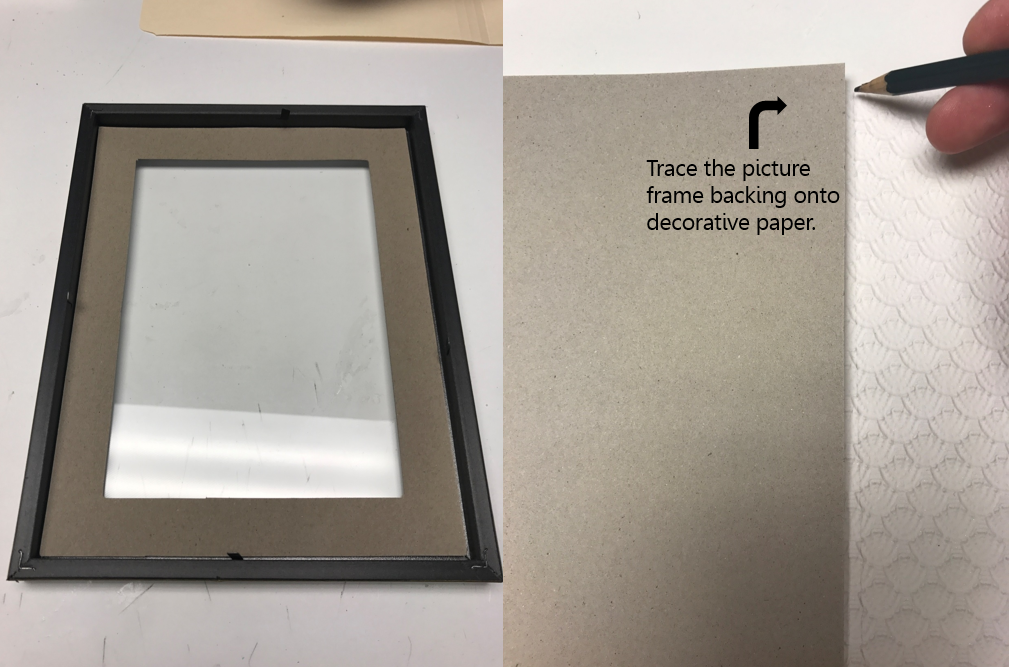
While your slices are air drying, take the backs off each frame. There are 4 little tabs on the back, bend them up and gently remove the picture frame’s back. If you purchased the same ones I did form the Dollar Tree, there should be a stock photo sheet, a cardboard spacer and a mat inside the housing of the frame. Gently remove all of this.
Wipe the inside of the glass down with some glass cleaner and a towel to get any dust or residue off the inside glass.
Next take the stock photo sheet and trace the shape of it onto the back of your decorative paper.
Then cut out the shape you traced on the decorative paper with scissors. (I used my paper cutter for this part cause I like a nice clean line. (Scissors will work just fine.)
Repeat for each frame.

Gilded Edge Paper Agate Wall Art: Glue Decorative Paper To Slices
Replace the mat and cardboard spacer back into your picture frame.
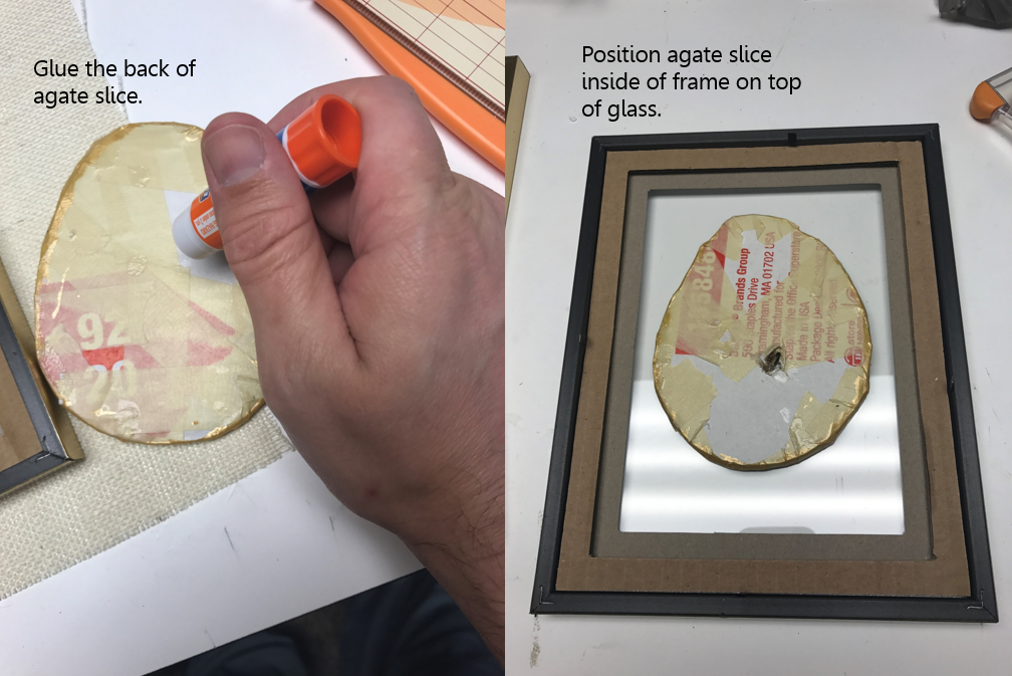
After your slices are all dry, flip them over and coat the back with some glue. I used a glue stick and this will work just fine.
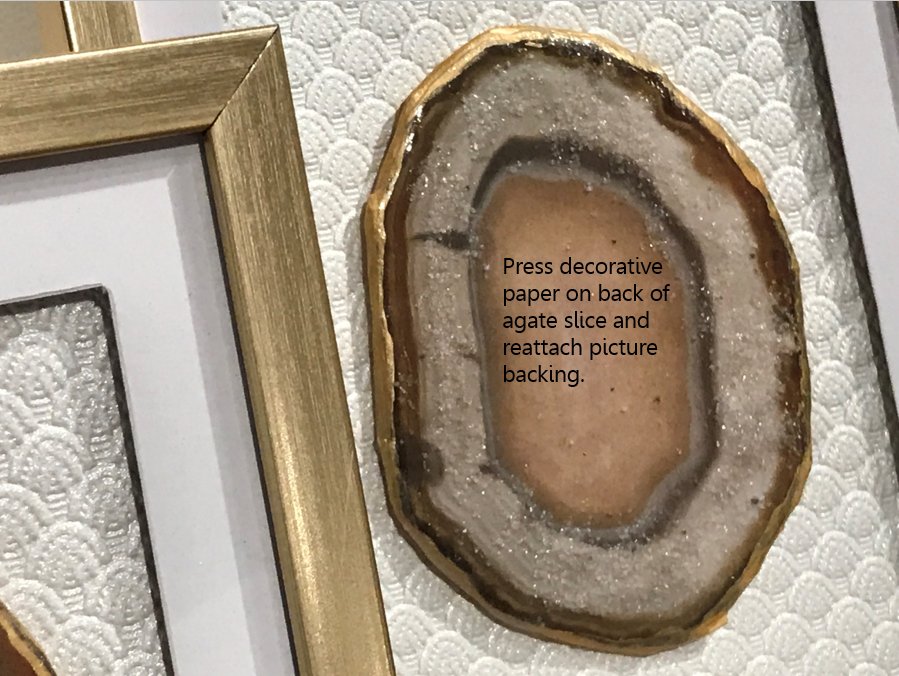
Position your agate slice where you want it on the glass, glue side up, and then position your decorative paper on the back of the slice. Gently press down to secure the paper to the back of your slice.
Place the housing onto the back of the frame and push the 4 tabs back down to lock it in place.
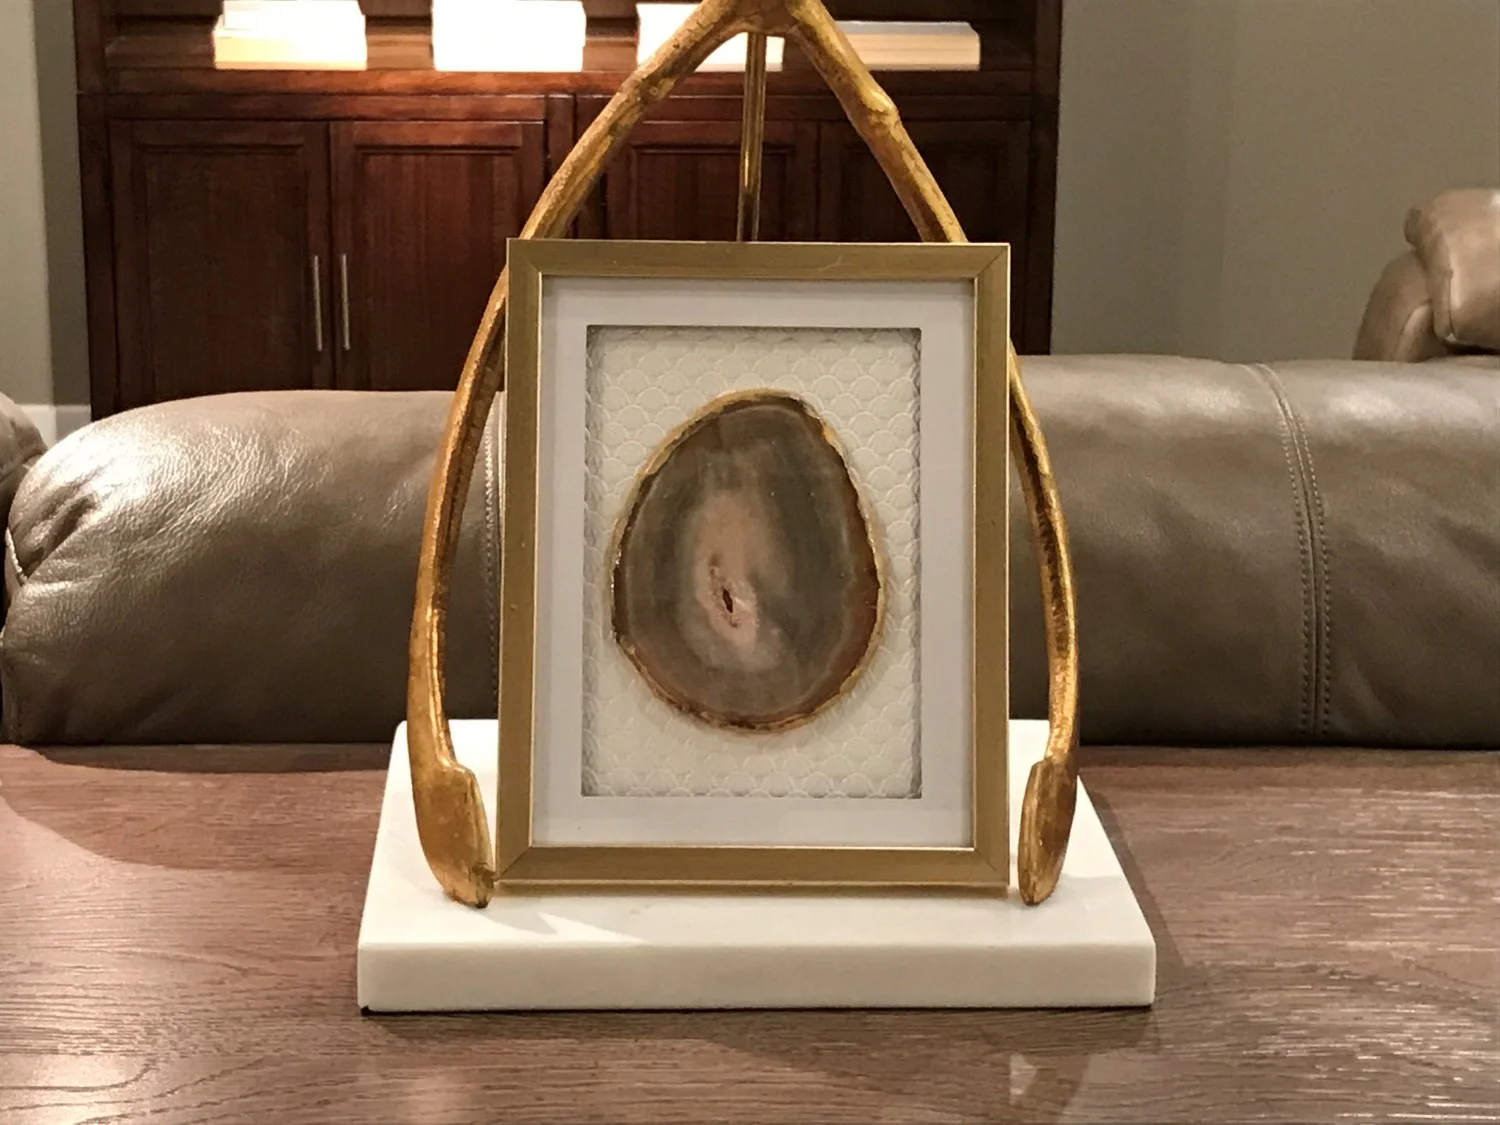
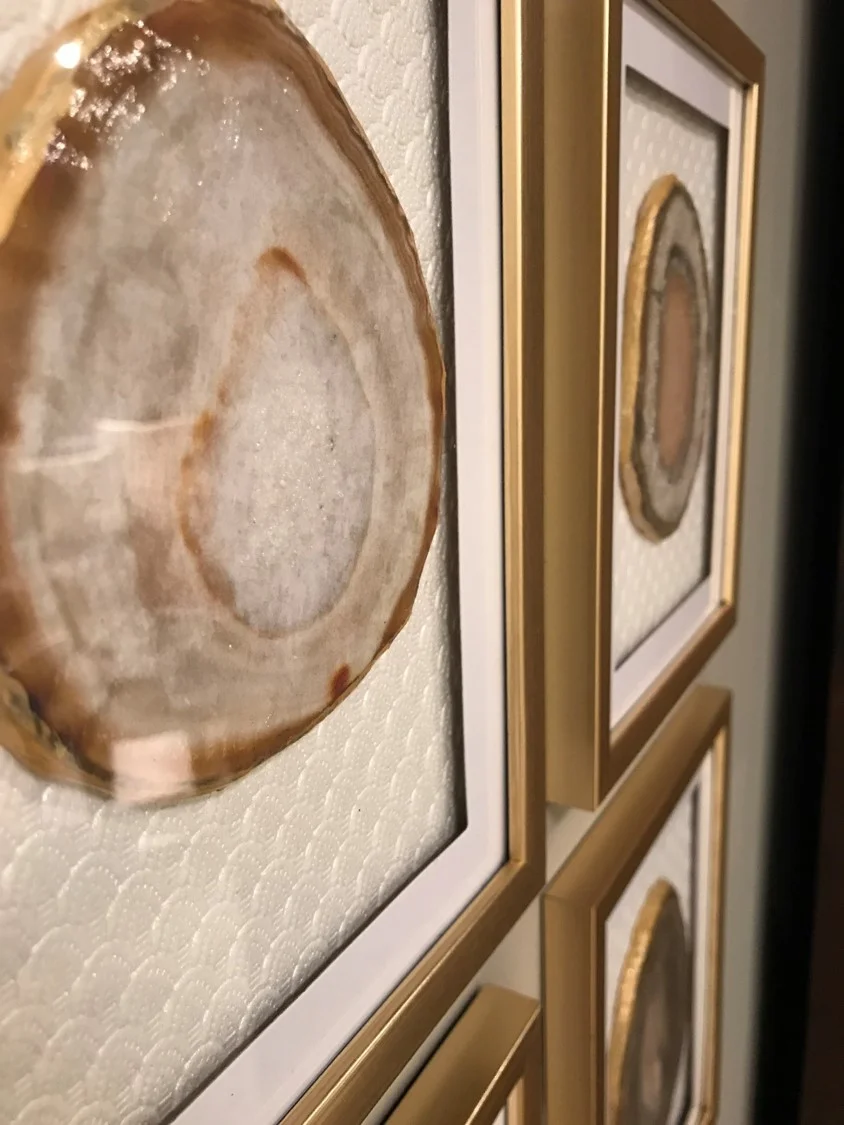
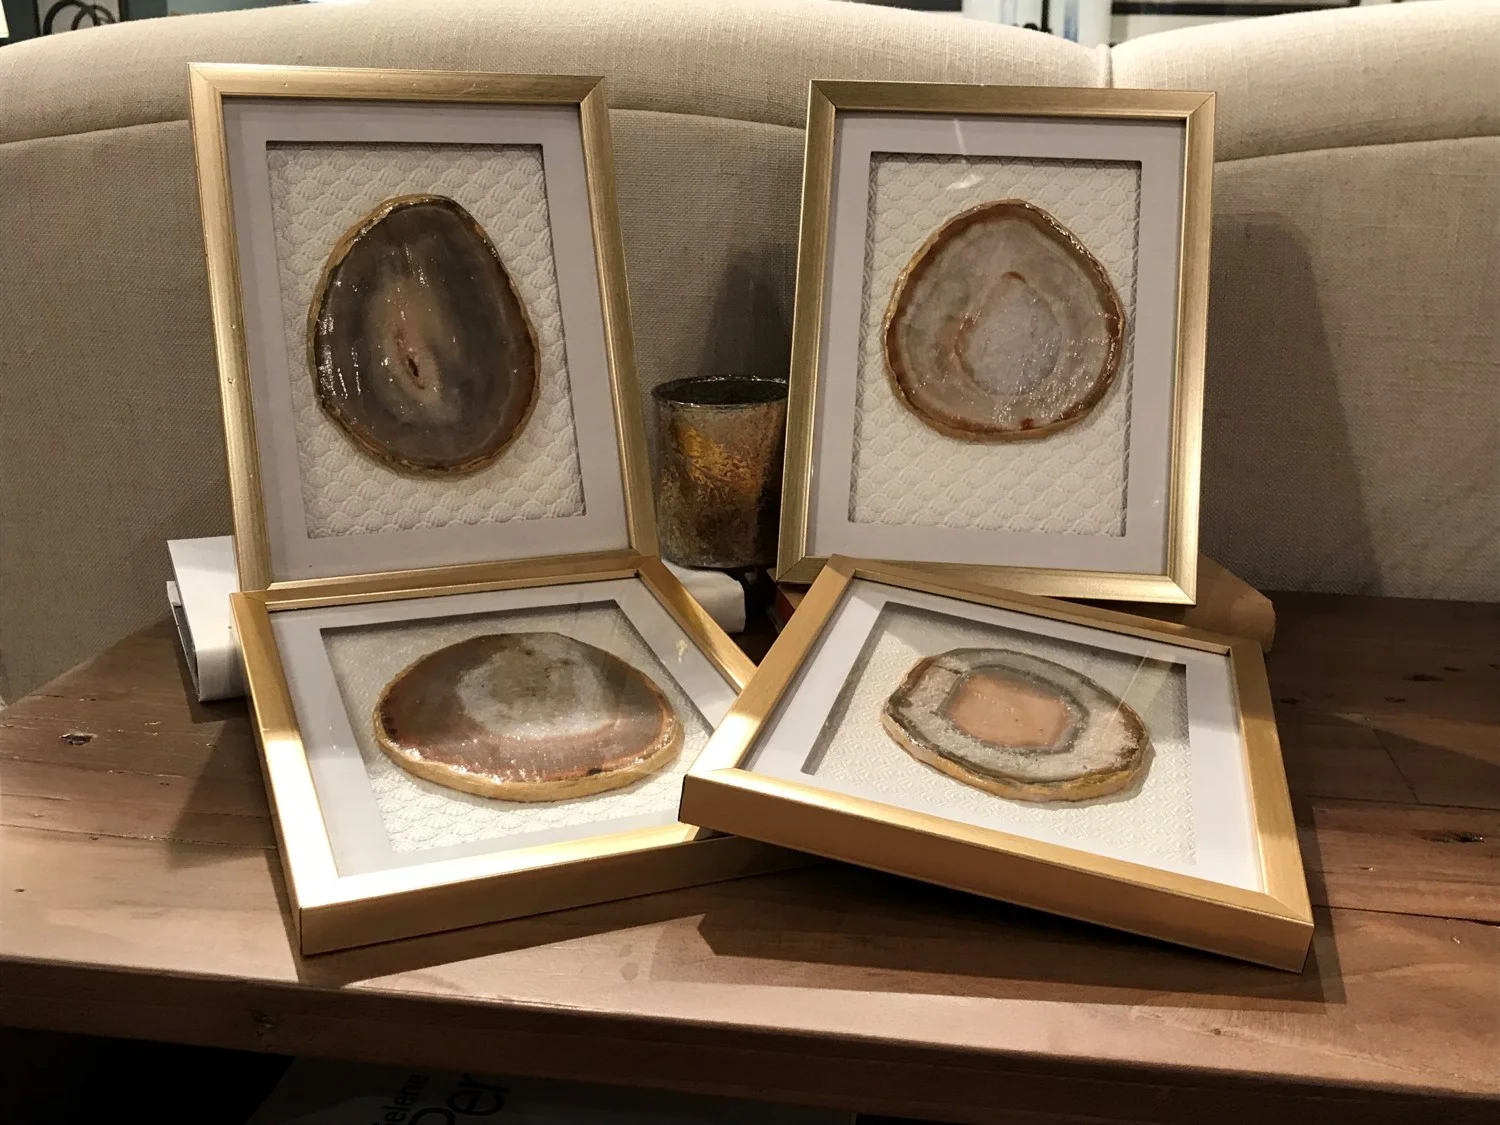
That’s all there is to it. You, my creative, amazing friend just made a faux agate slice wall grouping! How easy was that?

Thank you so much for tuning in every Thursday and Sunday! I love bringing you this content each week. I’d love to hear if you have any requests for projects that you’d like to see here on diy Sunday. Click the contact button in my signature below and send me an email with what you’d like me to try.
Until next time, stay fabulous and create something amazing for your home!
Michael is Principal designer and blogger at Michael Helwig Interiors in beautiful Buffalo, New York. Since 2011, he’s a space planning expert, offering online interior e-design services for folks living in small homes, or for those with awkward and tricky layouts. He’s a frequent expert contributor to many National media publications and news outlets on topics related to decorating, interior design, diy projects, and more. Michael happily shares his experience to help folks avoid expensive mistakes and decorating disappointments. You can follow him on Pinterest, Instagram and Facebook @interiorsmh.