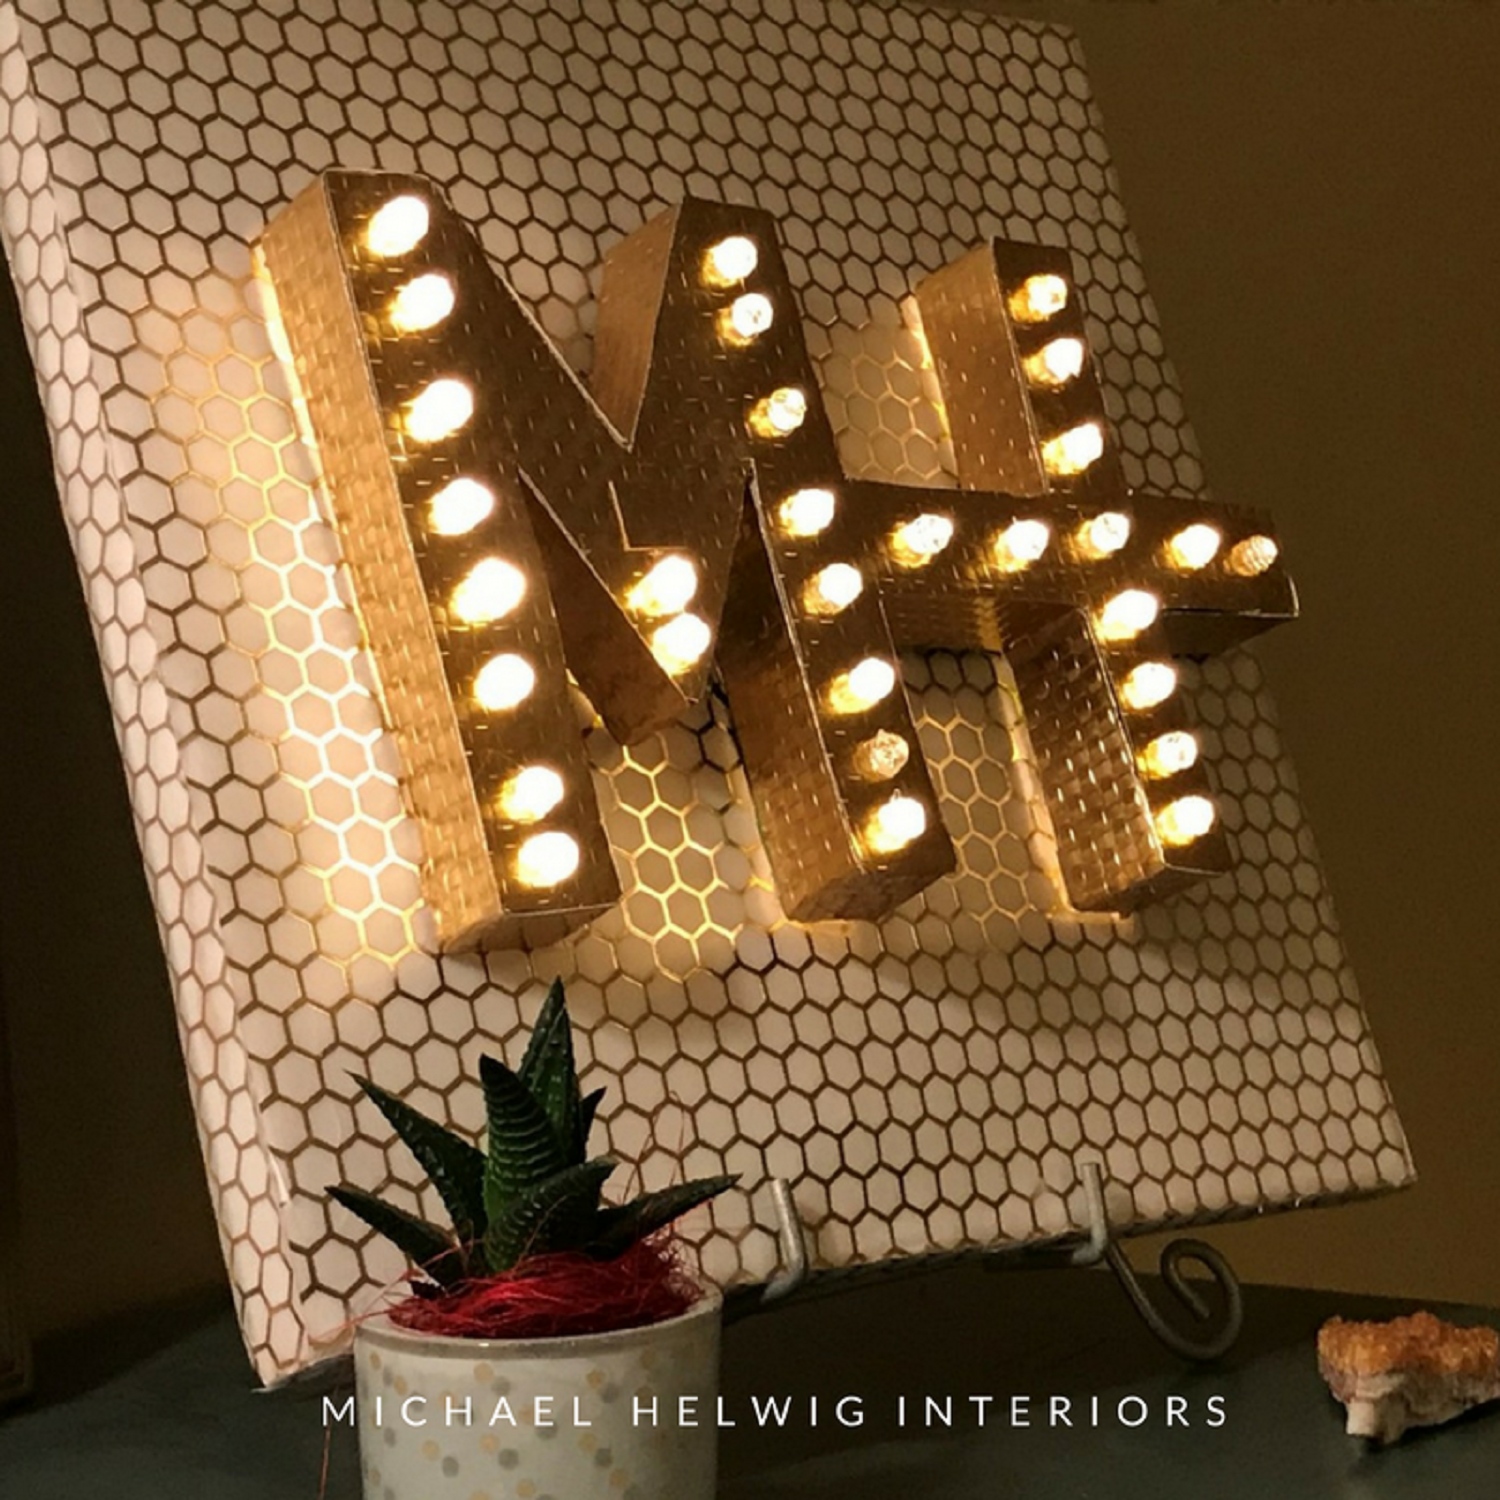
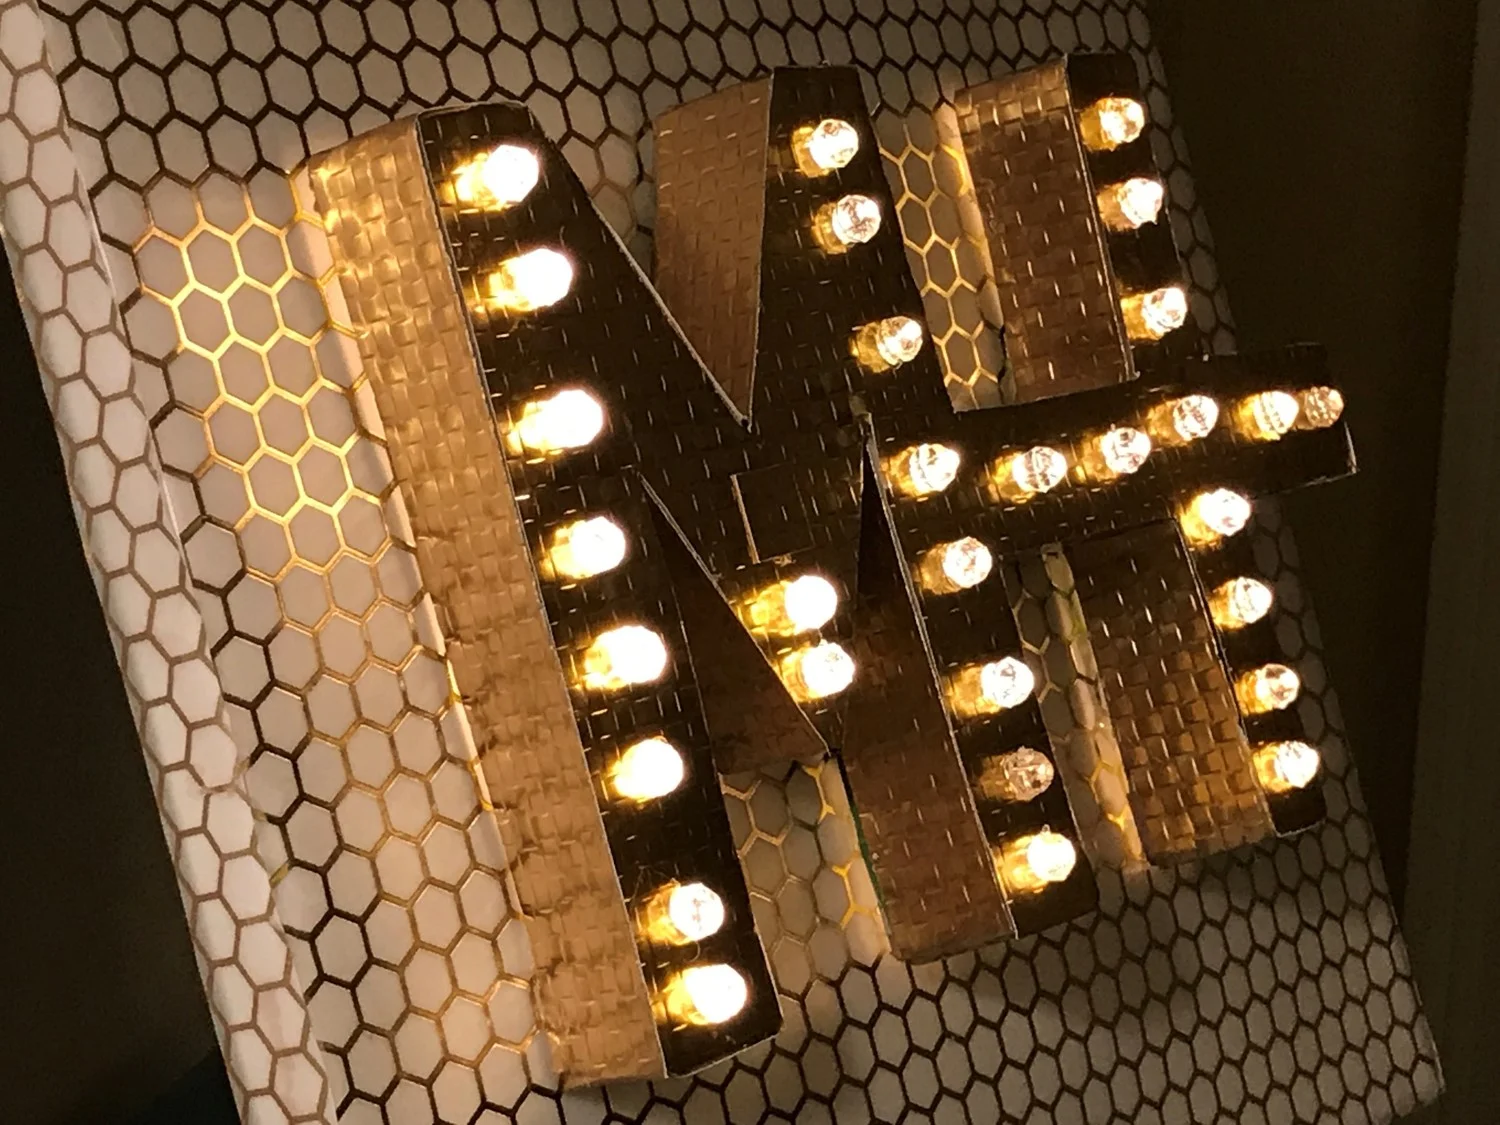
It’s dorm room season and do I have a cool project for you today! You’ve seen them all over Pinterest and Tumblr and you’re always wanted to try it craft one up yourself. Well if you think a light up sign is a tough thing to make, I’m here to tell you it’s super easy! It’s DIY Sunday and if you’ve ever dreamed of seeing your name in lights, here’s how you can do it! Let’s get into how to make a diy light up marquee sign!
I’ve wanted to give this one a whirl for a while. Being the long winded type, I racked my brain for weeks trying to come up with the perfect phrase to light up my wall but I have so many favorite sayings I just couldn’t decide. In end I went with my company logo, which is basically my initials with a horizontal “I” for the interiors. This is my latest logo and I pretty happy with the result.
How To Make A DIY Light Up Marquee Sign: Supplies
Card Board Letters
Battery LED Lights (**NOT PLUG IN CHRISTMAS LIGHTS**)
Painter’s Canvas, Stretched and 3/4” thick
Clear Beads
Hole Punch
Decorative Paper (Two Patterns)
Hot Glue Gun And Hot Glue
Duct Tape
Craft Knife or Scissors
A Pen or Pencil
Paper Cutter (optional)
How To Make A DIY Light Up Marquee Sign, Step 1: Cut Back Of Letters Off
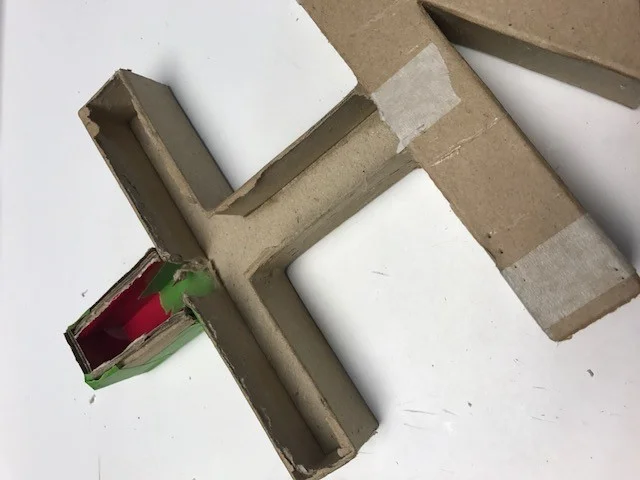
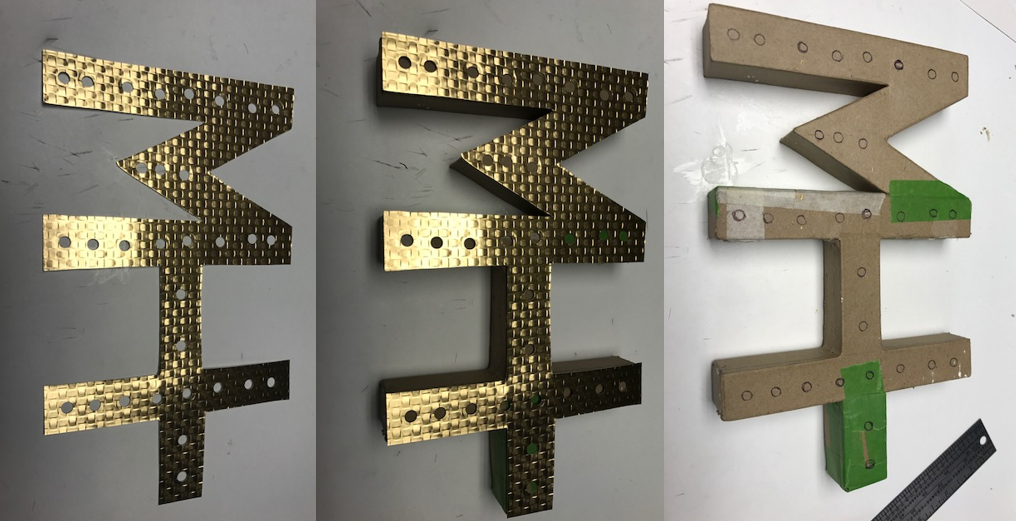
Turn your letters over and poke your craft knife or scissors through the back of the letter and cut along the out side edge. The letter is hollow on the inside and usually has a zig zag piece of car board inside to give it support but you can easily pull that out. I had to do a few extra steps to get my letters to look like my logo but I won’t go into that here cause yours won’t look like my logo, right?
How To Make A DIY Light Up Marquee Sign, Step 2: Trace Letter On Paper
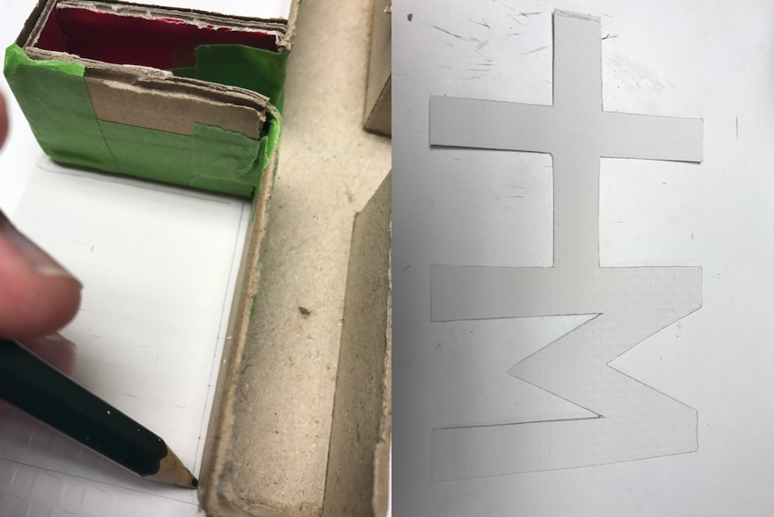
After you remove the back of your letter, trace the outline of the letter on one of your decorative papers, Make sure it is placed on the paper front side down or backwards because you want the paper to be the front of the letter in the end.
Then cut the letter out of the paper
How To Make A DIY Light Up Marquee Sign, Step 3: Determine Light Spacing
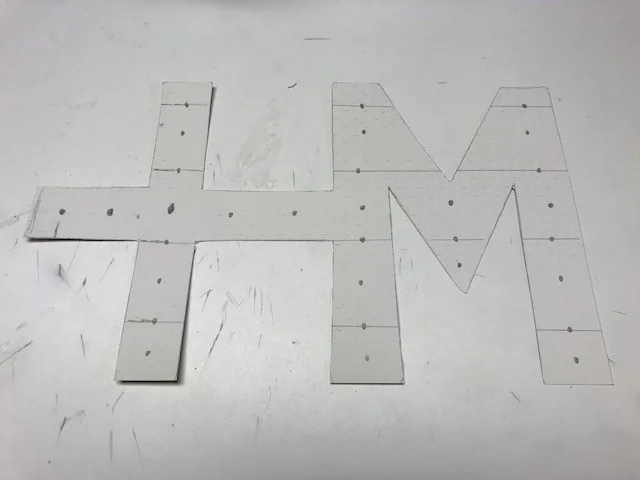
Next, draw out where you want your lights to be on your marquee letter. I counted the number of lights I had in my LED pack and Spaced them accordingly. As long as you have a equal number of lights spaced out along your letter, it should look great! Draw a dot each place you want a light to be.
How To Make A DIY Light Up Marquee Sign, Step 4: Punch Holes
Now punch holes each place you want a light to be with your hole punch. Then lay your paper letter on top of your cardboard letter, right side up, and trace each of the holes you just punched onto the front of the cardboard letter.
How To Make A DIY Light Up Marquee Sign, Step 5: Poke Holes In Cardboard
Poke through the cardboard with a pair of scissors or the tip of your craft knife. I found it helpful to stick a pen through to make the hole nice and round. Try not to male it much bigger than thee size of the hole punch hole.
How To Make A DIY Light Up Marquee Sign, Step 6: Glue Paper Letter to Cardboard Letter
Glue your cut out paper letter to the front of the cardboard letter making sure to line up the holes. I used a glue stick but, in hind sight, the hot glue would have work just as good and it would have dried faster. I had to wait a half hour…
How To Make A DIY Light Up Marquee Sign, Step 7: Attach Paper To Side of Letter
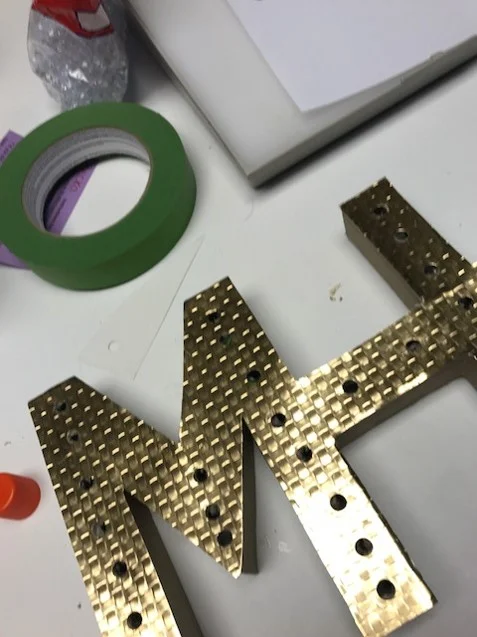
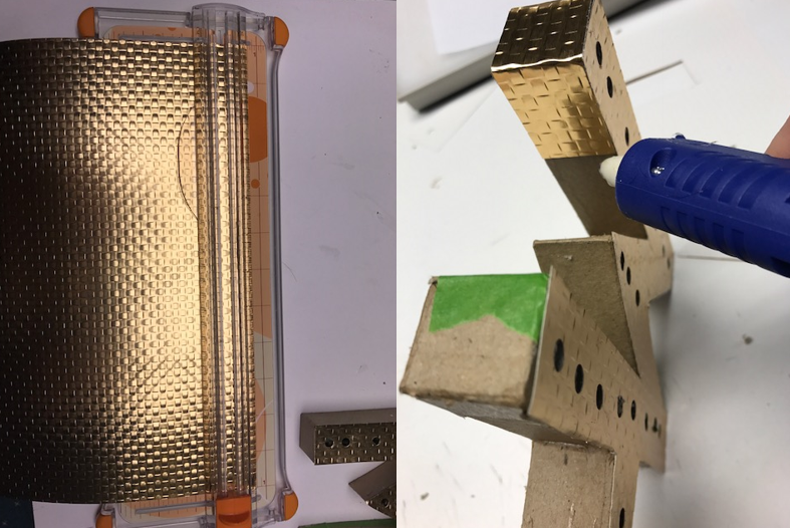
Measure the width of your letter and transfer that measurement to your decorative paper. I used a paper cutter but you can certainly use scissors to cut the strips. Next glue your paper strips on to the side of your letters so that they cover it all the way around. I folded the paper around the edges so that it was nice and tight.
How To Make A DIY Light Up Marquee Sign, Step 8: Glue Beads On
Glue your clear beads on to each of the holes you made on the front of your marquee letter. Don’t use a ton of hot glue, just enough to secure it on the front. Cover all the holes.
How To Make A DIY Light Up Marquee Sign, Step 9: Glue Lights On
Flip your letter over and glue the tip of your LED lights to the back of each bead that you glued to the front. This is going to allow the light the shine through the front. DON’T USE PLUG IN LIGHTS! No Christmas lights! Paper, hot glue and electricity do not play nice together! I used LED lights because they do not get hot and they can be glued in place.
How To Make A DIY Light Up Marquee Sign, Step 10: Cover Your Canvas
After your finished your Marquee sign, cover your canvas with your other paper pattern so you have a nice contrast and background to the letters. Measure and cut the paper to the size of your canvas and then measure the width of your frame and cover it as well with the paper.
How To Make A DIY Light Up Marquee Sign, Step 11: All Together Now
Next you’ll want to poke a hole through the center of your canvas and fee the battery pack and led light wires through the canvas. I ended up with lots of wire because I used 3 LED packs. When you have all your wires through, you can adjust the letter on the front of the canvas and glue the letters to the front of the canvas. (This may take a bit of adjusting because your wires need to be completely through the canvas and not visible from the front. Keep adjusting it because the final look will be amazing!
How To Make A DIY Light Up Marquee Sign, Step 12: All Tape Wire and Battery Pack Down
Secure your wires and battery packs with some duct tape, (Not Painters tape like me…) to the back of your canvas. Put your batteries in the batter pack and light it up! Hey there, you just created a cool light up sign for your home!! Good job!
That’s it! If you enjoyed this diy, make sure to give it a thumbs up and share it out with your friends! Don’t forget to subscribe to my newsletter if you haven’t done so already. Issue number 1 will be out on September 5, 2017! What kind of stuff will be in the newsletter, you ask? Well, I’ll be showing you all kinds of nifty diy projects, you’ll get a sneak peak at the work I’m currently involved in and I’ll share a ton of VERY helpful interior design and decorating tips and tricks that I ONLY share out to my subscribers. So sign up today. Just click the green subscribe button in my signature below! Until next time, keep on creating!
Michael is Principal designer and blogger at Michael Helwig Interiors in beautiful Buffalo, New York. Since 2011, he’s a space planning expert, offering online interior e-design services for folks living in small homes, or for those with awkward and tricky layouts. He’s a frequent expert contributor to many National media publications and news outlets on topics related to decorating, interior design, diy projects, and more. Michael happily shares his experience to help folks avoid expensive mistakes and decorating disappointments. You can follow him on Pinterest, Instagram and Facebook @interiorsmh.


