Big or small, string art makes a great embellishment for any wall. The possibilities for creating something pretty magical are really endless. This could be a group of small pieces for a nursery or one large piece for that empty wall in the family room. I say, go nuts and let me show you how to create an awesome string art picture!
I swear this must be my summer of gold. I’ve done quite a few diy’s that are painted gold or have gold accents. I just replaced the knobs on my desk with gold knobs and I love it! However, you don’t have to use only gold. This project is totally customizable. If you like teal and pink string, go for that! Let’s begin.
How To Create An Awesome String Art Picture!, Step 1: The Foundation
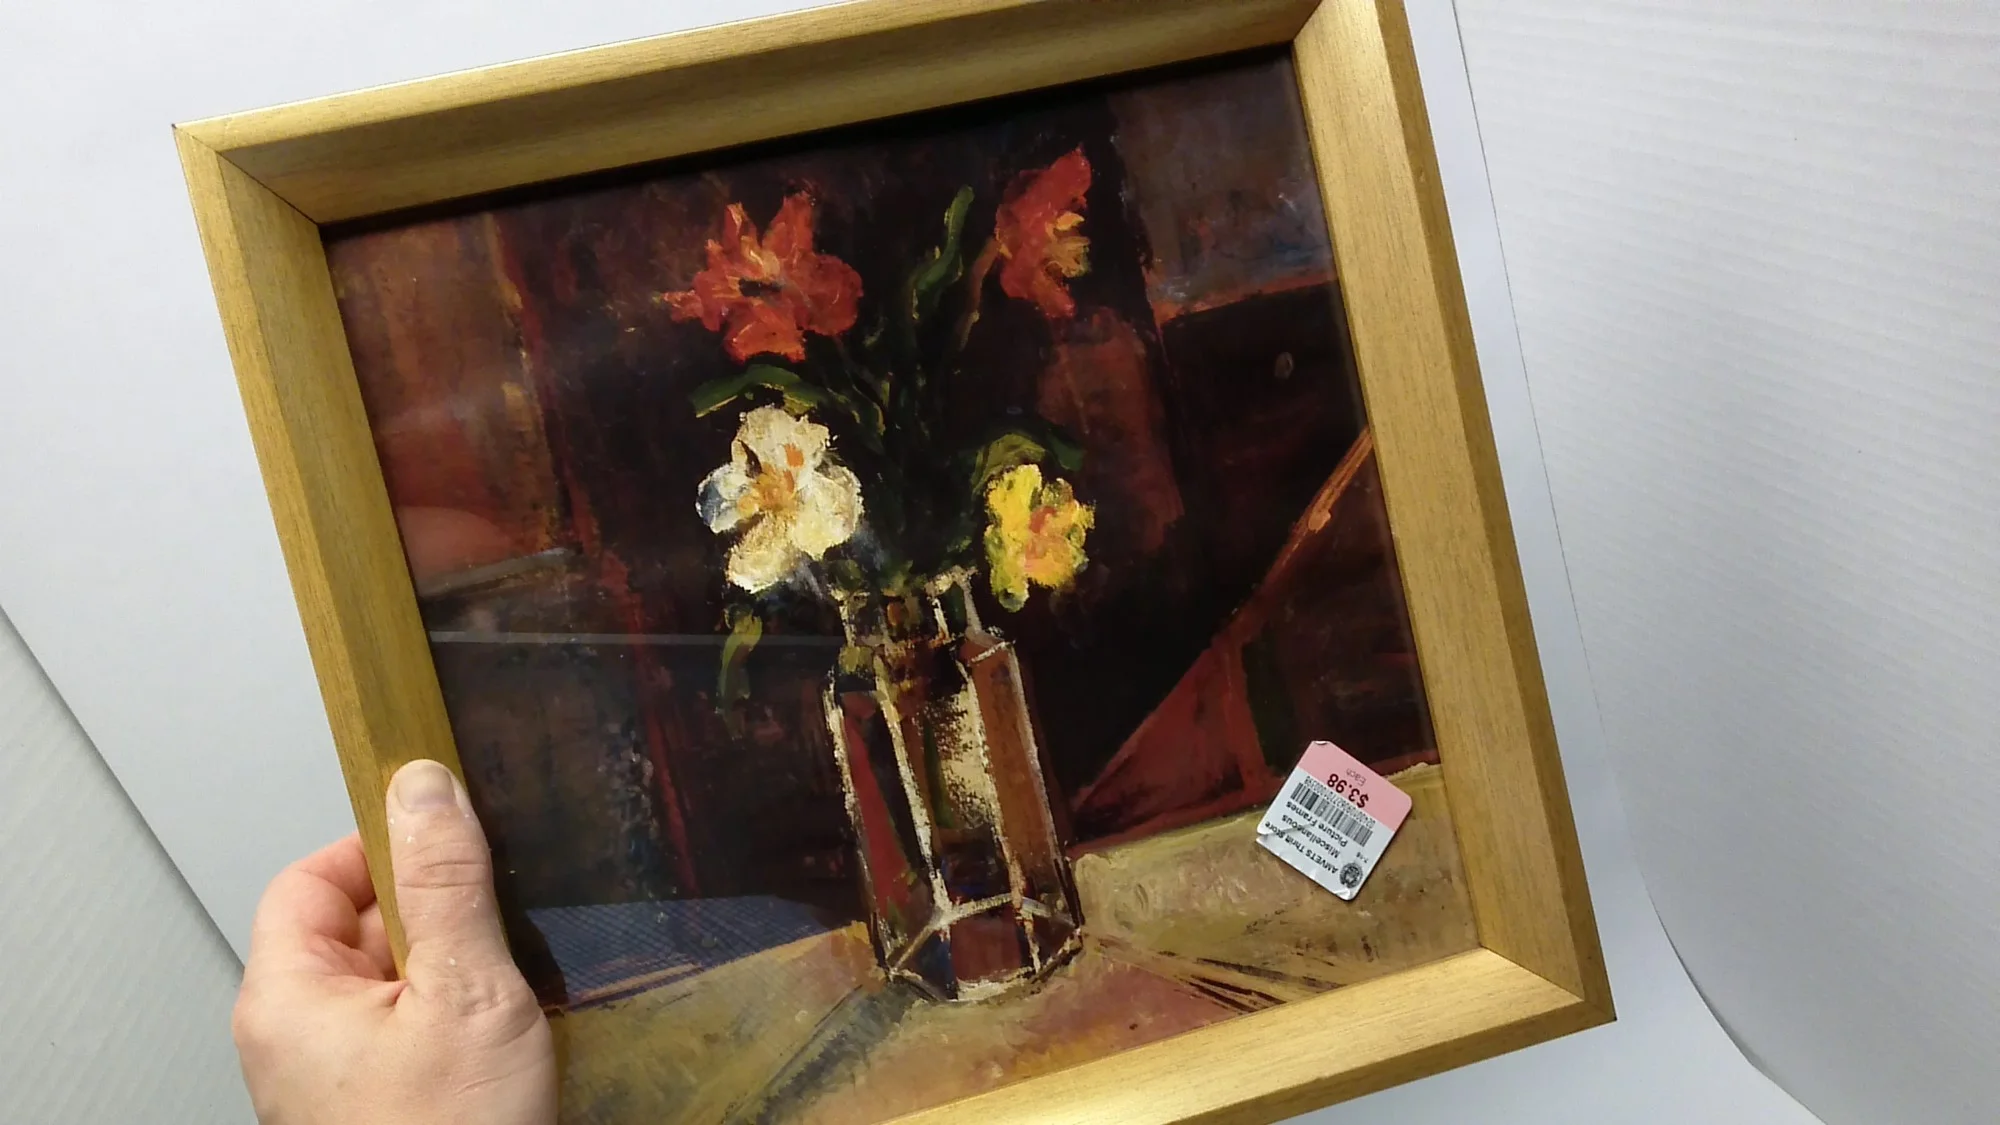
You’re going to need a frame for the way I’m going to show you how to do this. If you want to use a piece of plywood for the base, that’s good too. I just had this old frame in my basement. It was square and was in great shape, plus the frame was gold – bonus!
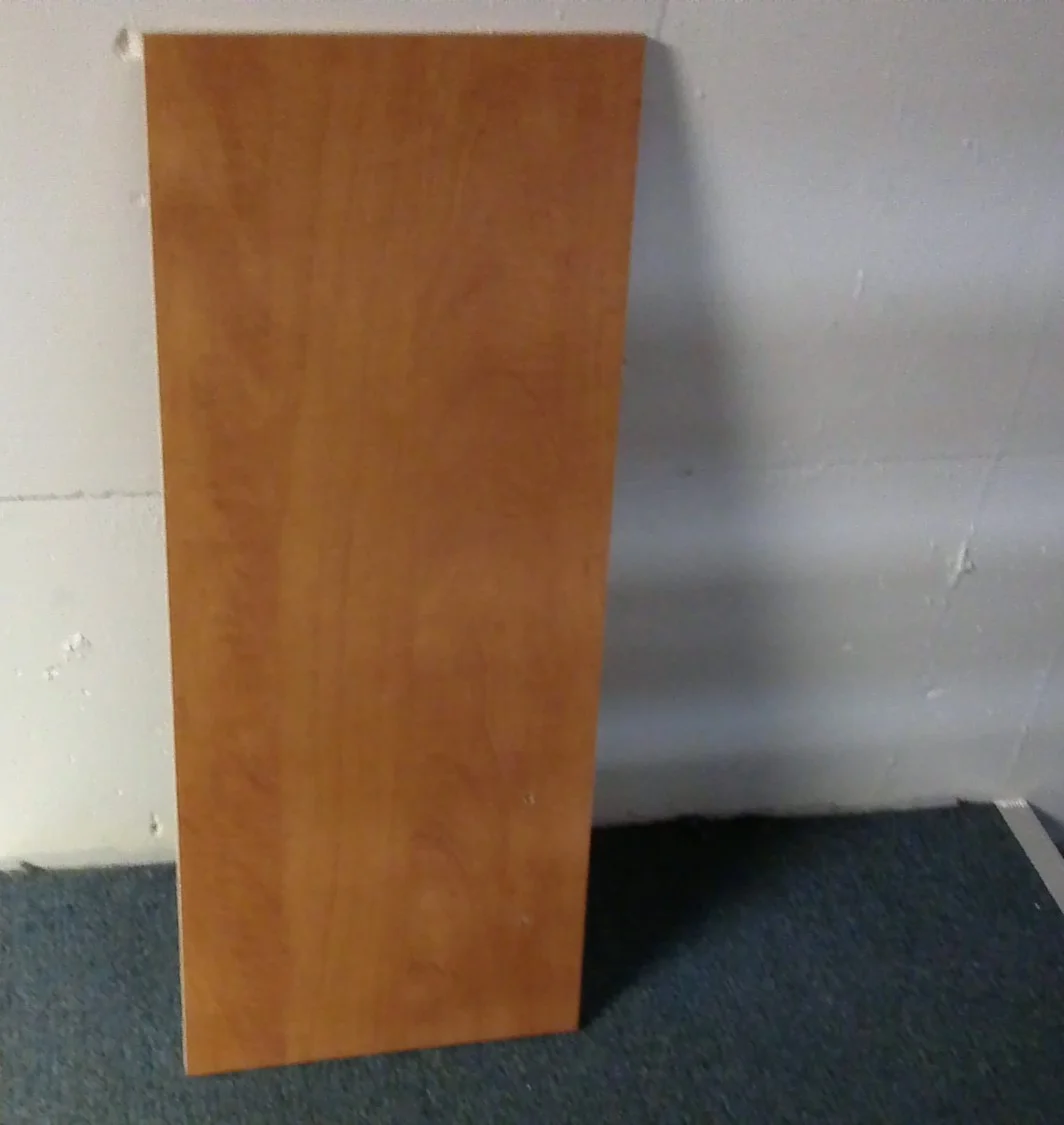
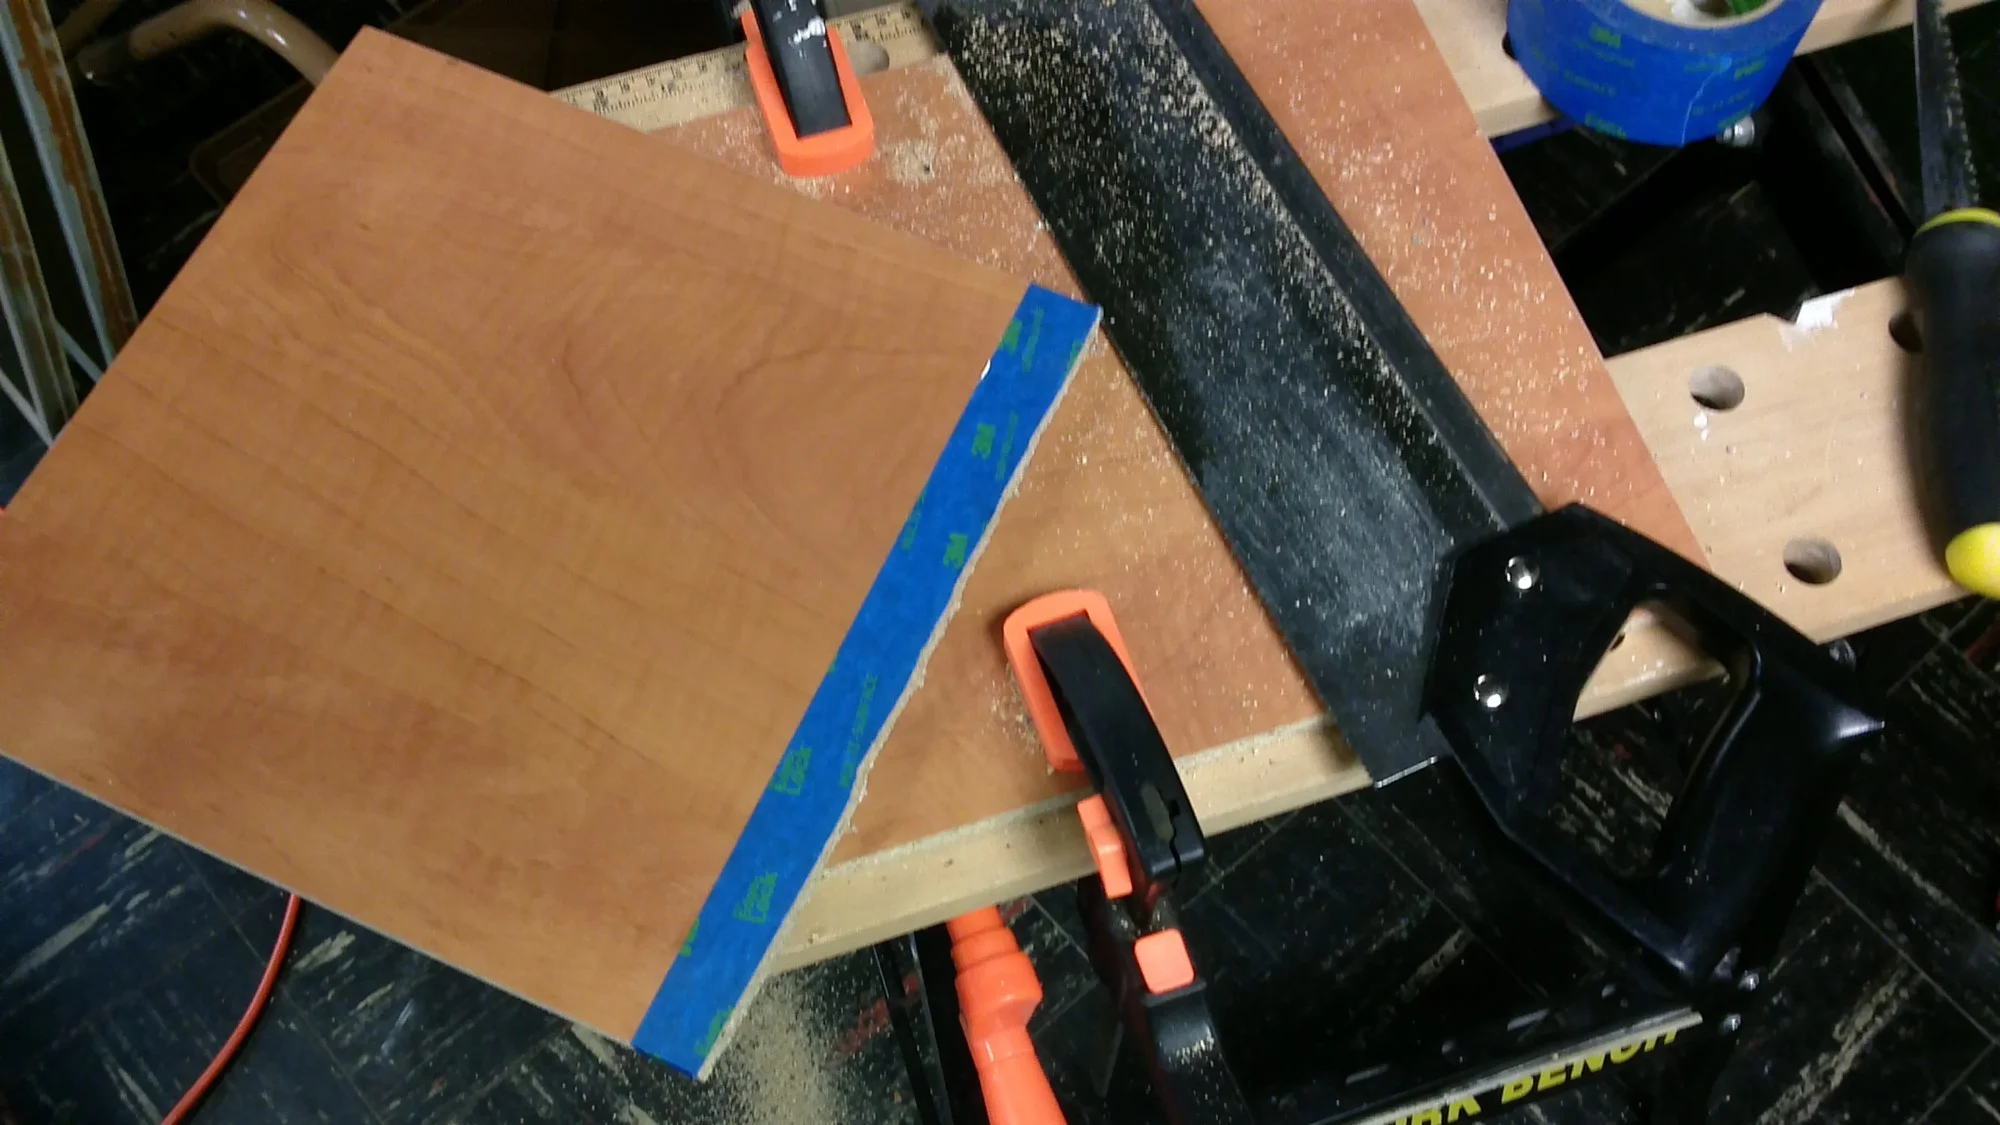
After a bit more digging, I came across this pressboard door from an old shelf that had long since bit the dust. It was the perfect width for the frame but it was way too long to fit the square frame. Time to set up the work bench and cut it down to size! Again, if you want to skip the framing of the art step, you can opt for just using plywood covered in the material of your choice.
How To Create An Awesome String Art Picture!, Step 2: Cover Your Board.
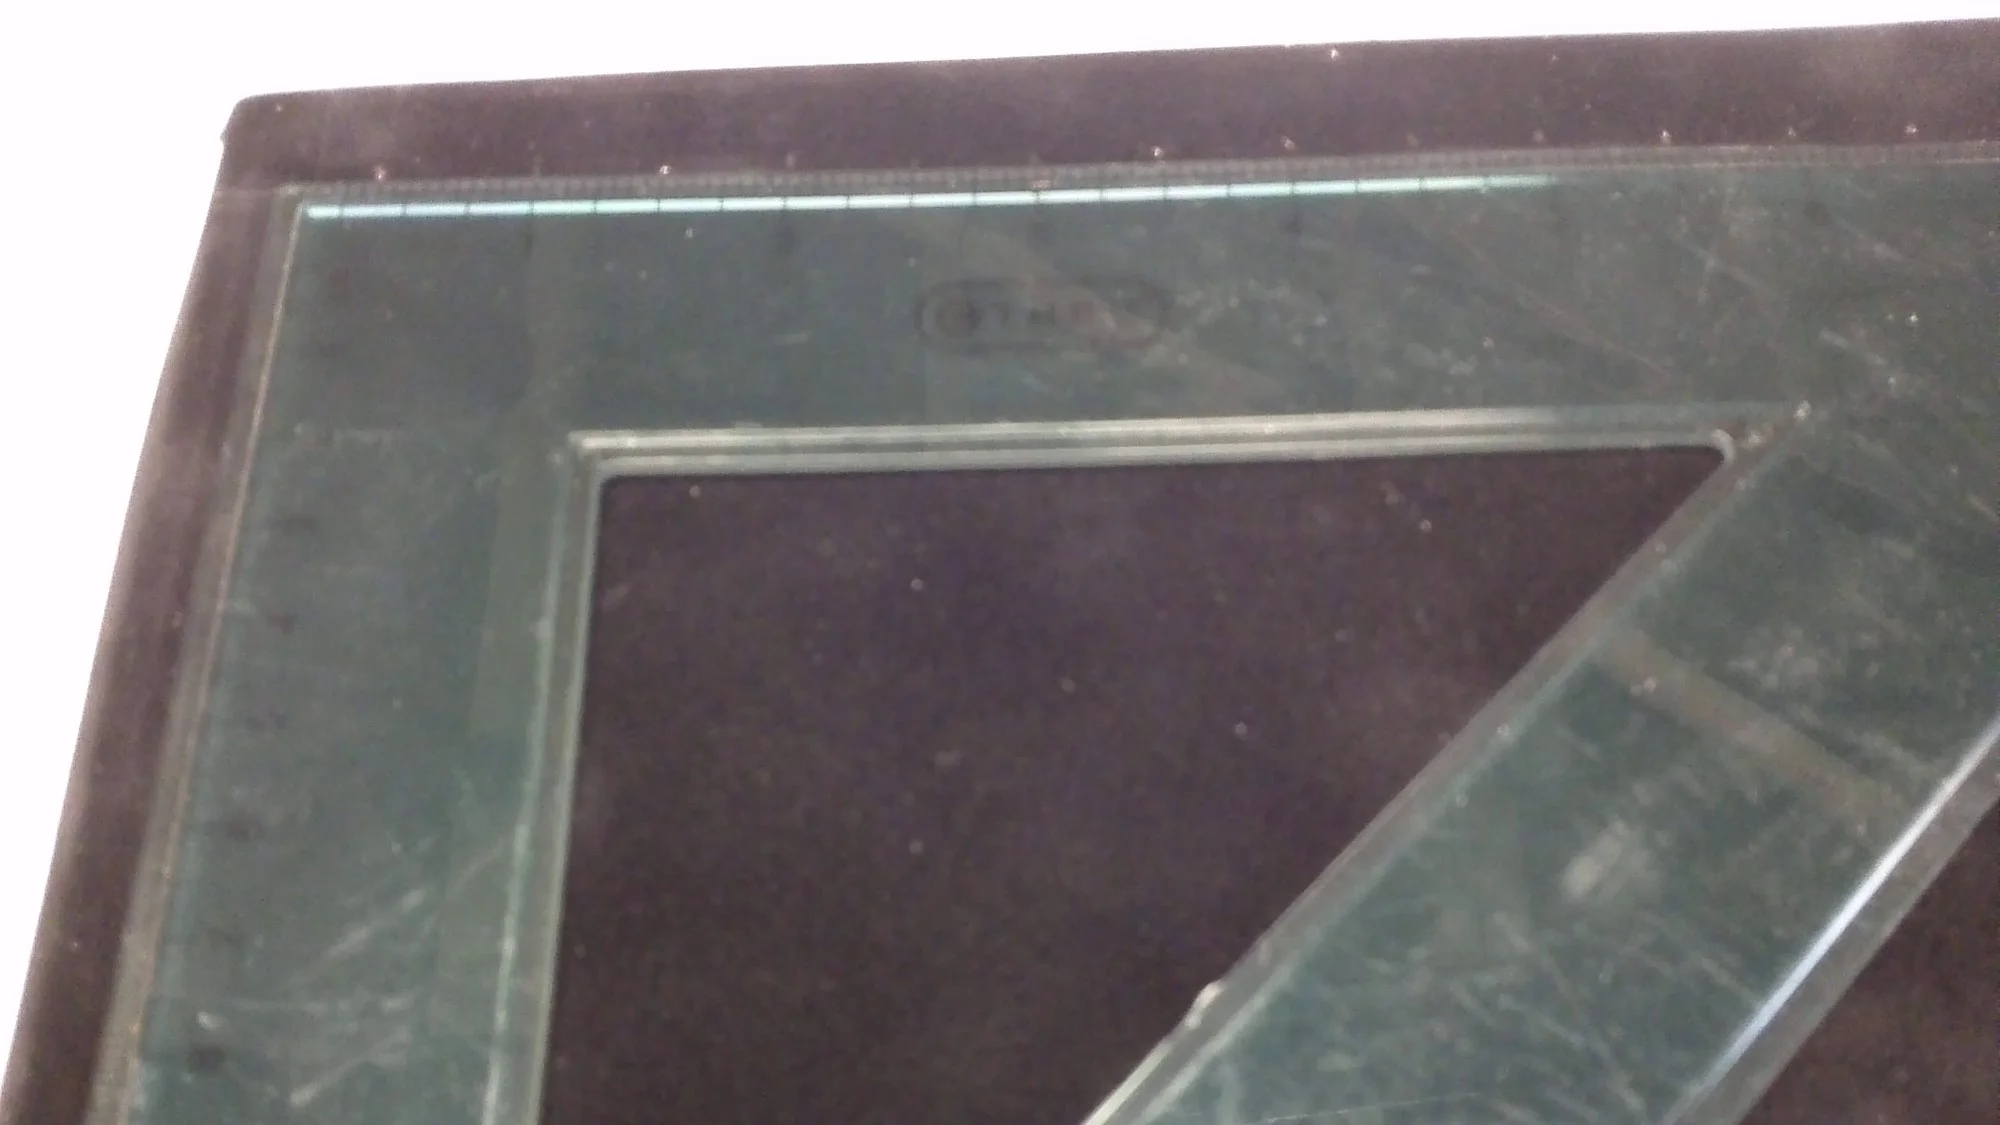
Once you’ve decided on a board to attach your nails and strings to, it’s time to cover the board with some sort of material that will add depth to the piece. I chose to go with a pretty flocked paper from Michael’s Craft Store. I just liked the way it looked. It has texture and a suede feel. If you have a fabric remnant from an old project, use that.
The secret is to play up the contrast. My paper is black and my string is shimmery gold – instant contrast.
How To Create An Awesome String Art Picture!, Step 3: Plot Out The Boarder.
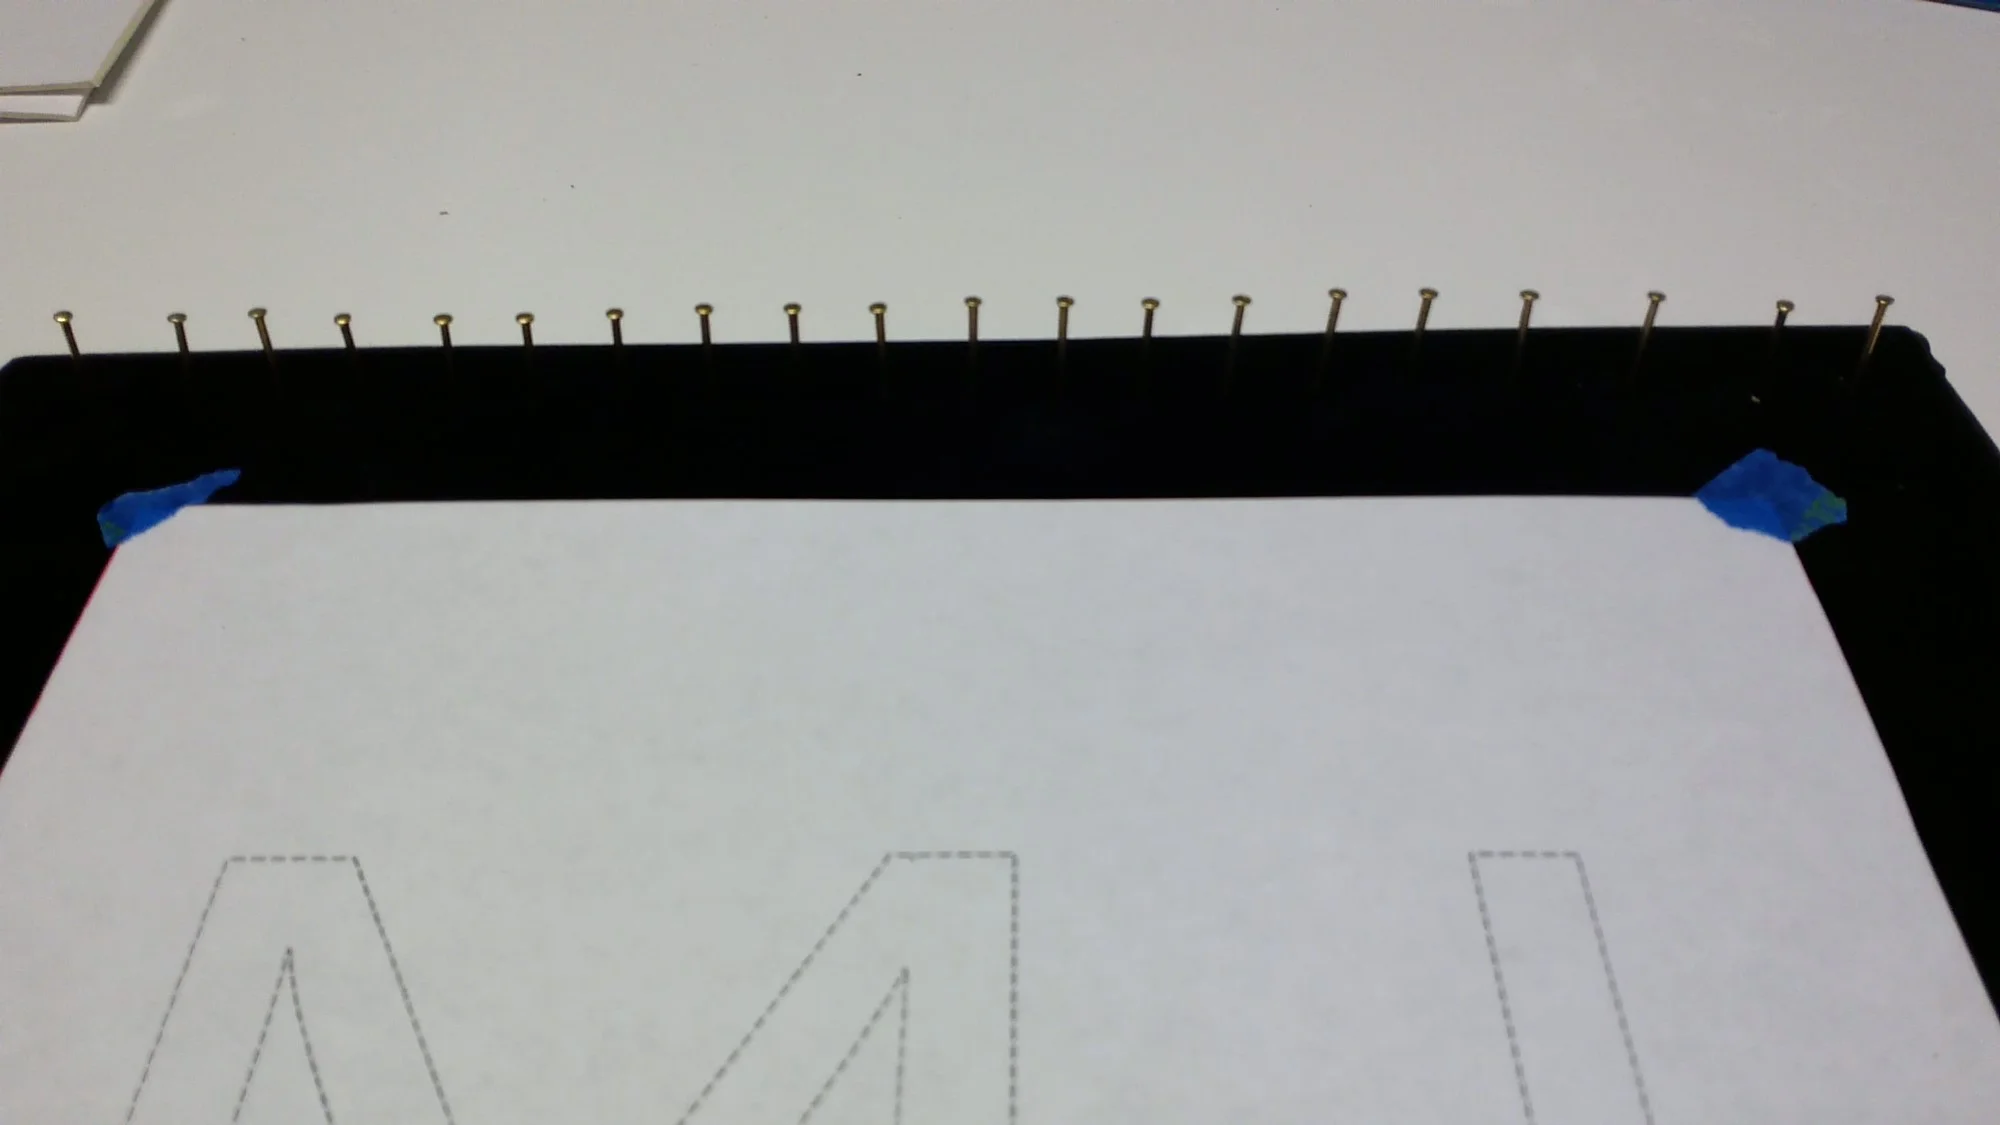
After that, I glued down the paper onto my piece of board with some spray adhesive and I measured along the edges one quarter inch down from the top of each side and one quarter inch in between each mark.
To get the most accurate spacing, measure the length and width of your board and adjust the measurements to approximately one quarter inch between each mark. If you’re not exact, get as close as you can. The idea is to create an even space between each nail so that your string looks equally distant along the edge.
How To Create An Awesome String Art Picture!, Step 4: Choose Your Pattern.
I wanted to do a picture of my company logo for my office but you can do whatever picture you’d like. I will tell you, words are pretty easy because they have such definite lines and that makes it pretty easy to create an outline of it.
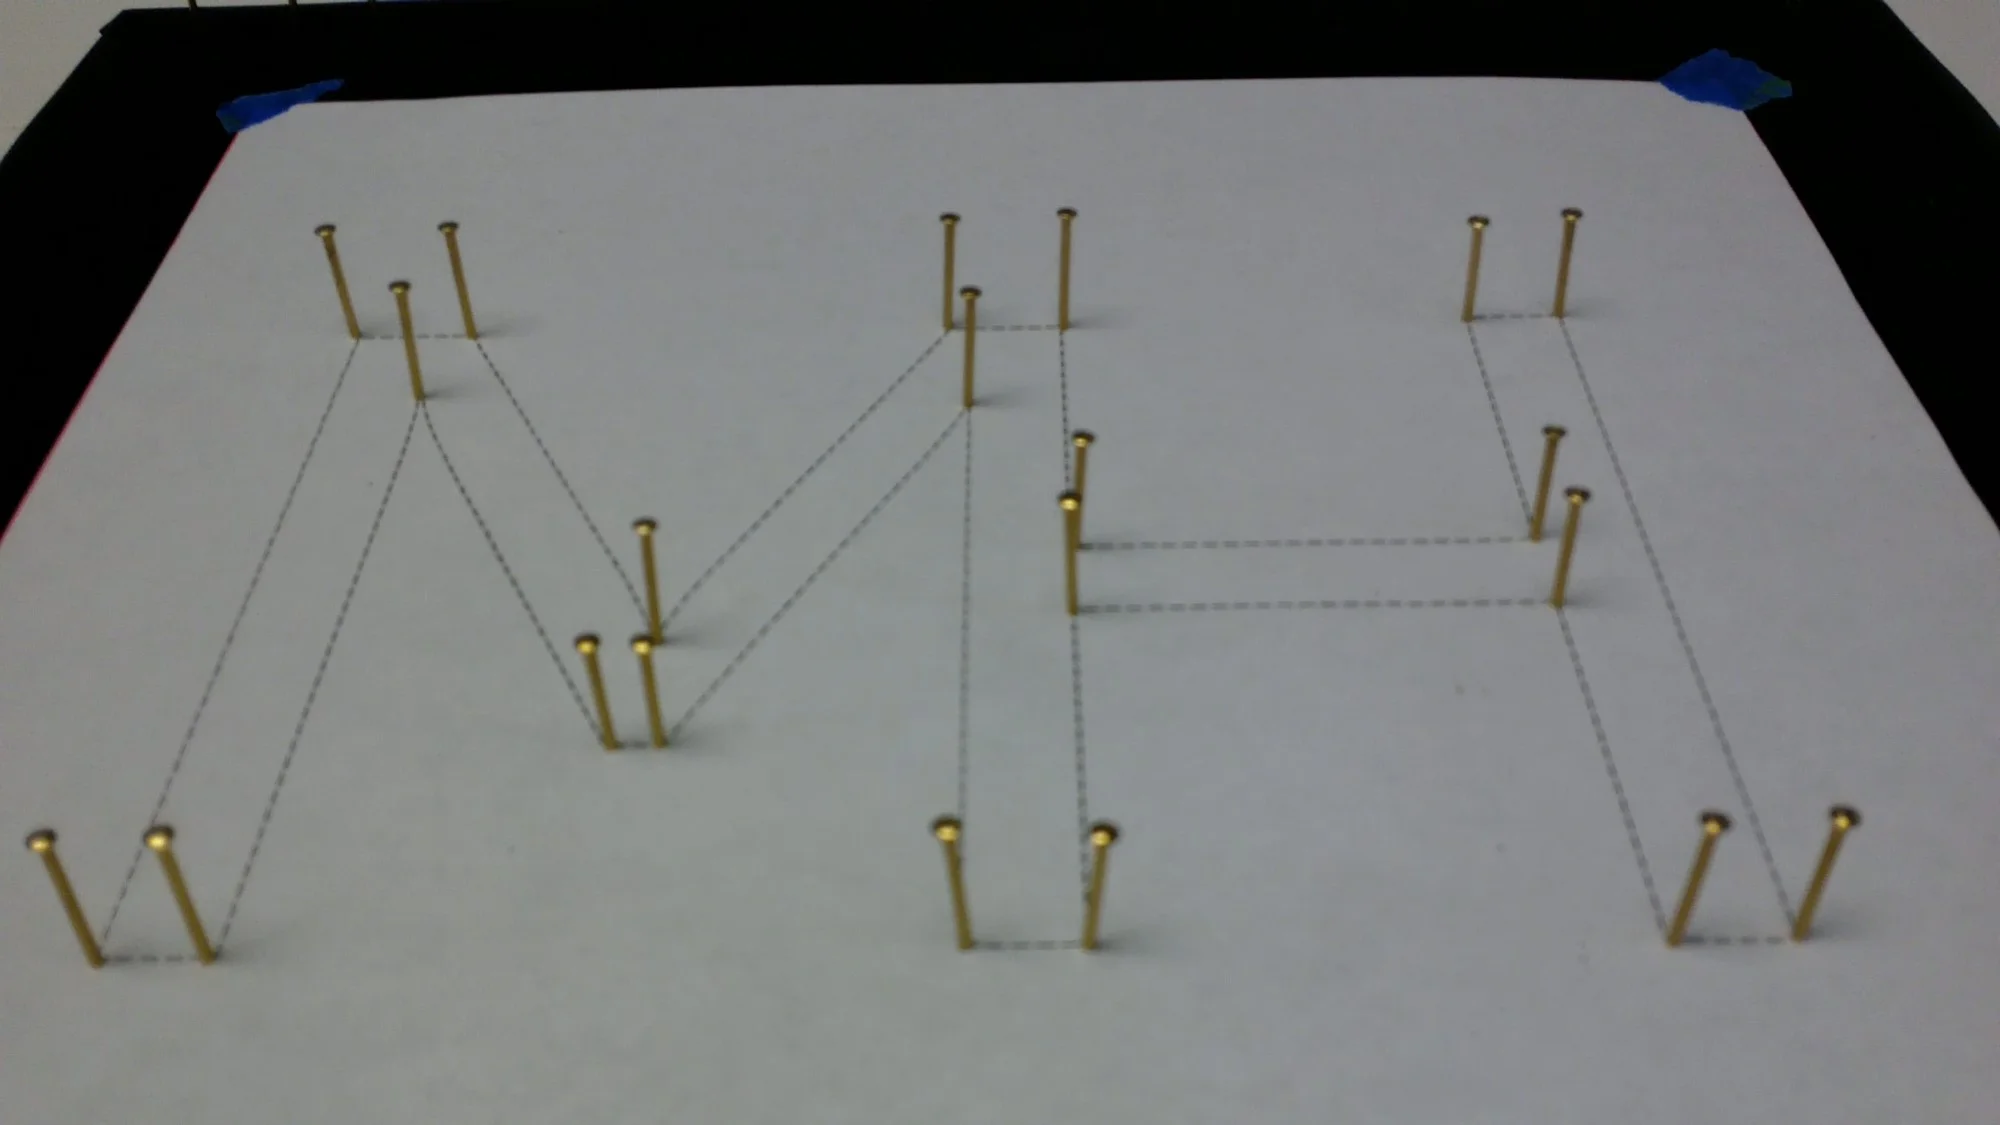
For this project, I simply created a text block in Word and overlapped my M and H, which is essentially the look of my logo. I made my font size as large as I could so that it still fit on the page. I then removed the color of the font and just left the outline. Then, in text tools, I made the outline of the letters a dashed line. That’s how you get the spacing for each nail.
How To Create An Awesome String Art Picture!, Step 5: Print and Place.
I then printed out my text image and measured and cut the printer paper to the right size for my piece and then centered the text sheet on the black paper and tacked it down with a little bit of painter’s tape in the corners.
If you’re using paper like me, don’t use anything that will tear the paper or the finish on the paper.
How To Create An Awesome String Art Picture!, Step 6: Nails.
Next, start nailing around the perimeter of the piece where you placed your quarter inch marks. Then begin nailing around the image, in my case, the letters on your paper. I used little finishing nails in gold from the hardware store.
When you’re hammering the nails in, make sure to tap them in until they are secure, but you want the nails to stick out to the same height all the way around the border and around whatever image you choose. In other words, don’t hammer the nails all the way flush with the surface. I found it easiest to start nailing in the corners of my text image. The spacing should be equal distance around your image.
I found that placing the nail in the center of each dash line around my letters gave me equal distance for each nail.
How To Create An Awesome String Art Picture!, Step 7: String It along!
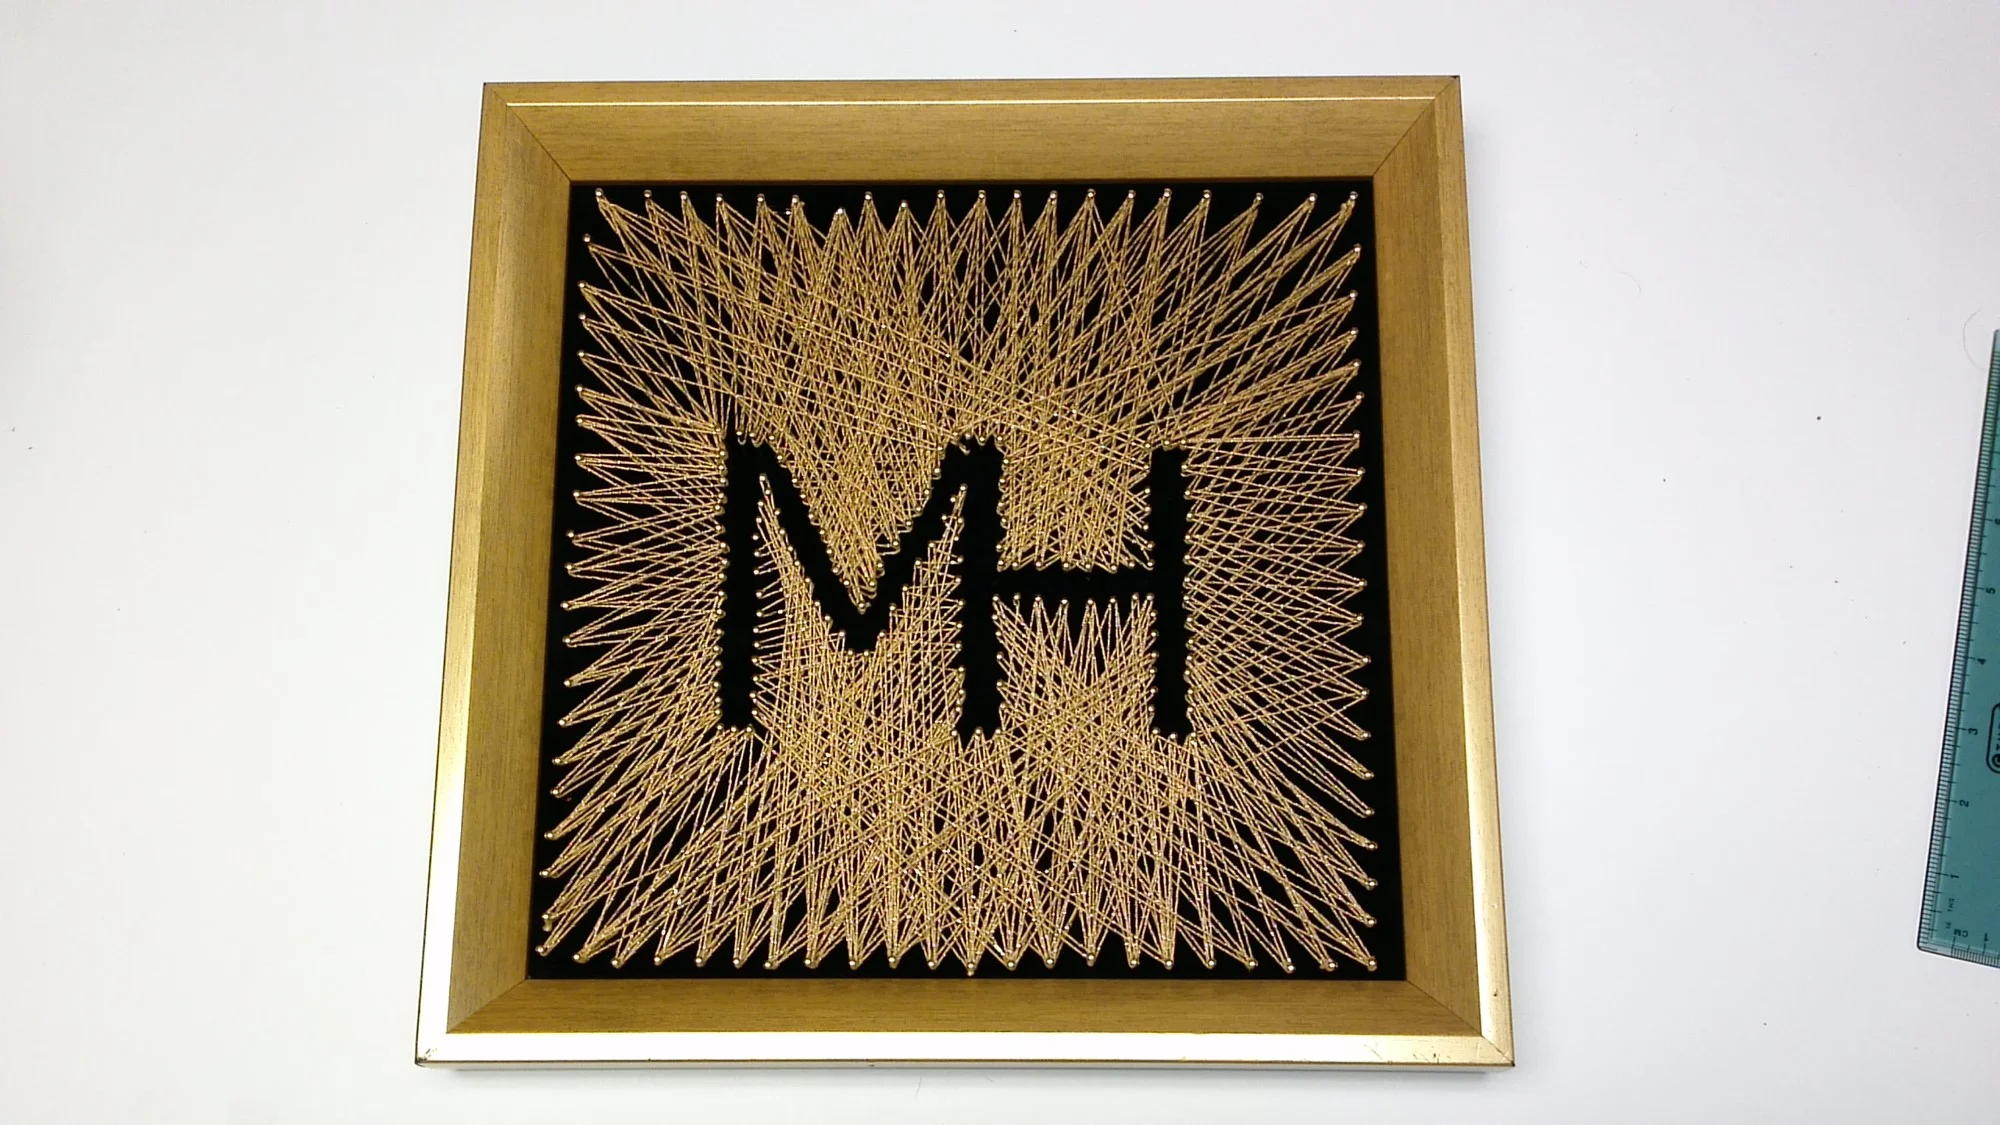
Time to start the string. I did a very random pattern with my string, but you can plan out and wrap the string in a very purposeful pattern if you’d like.
My main goal was to create the negative space of the text and to have the string fill in the space all around the letters.
I began in the lower left hand corner and strung the string tightly around the nail outlining the bottom corner of my M. Then I wrapped the sting onto the next nail on the border of my frame.
I ended a with a zigzag pattern when I completed my first pass around the whole piece. The great thing about this is you can un-do any line you want if you don’t like the pattern.
Just don’t pull the string too tight because you don’t want your nails to pop out. When I thought I had enough coverage and a string pattern you like, snip the string and tie it to the last nail with a small knot. Ideally, you’ll want to use one continuous run of string but, in full disclosure, I sniped my string a few times and picked back up in a few positions. Hey, it’s all about being creative and sometimes creativity doesn’t follow a continuous line, so don’t worry if yours doesn’t either.
How To Create An Awesome String Art Picture!, Step 8: Frame It Up!
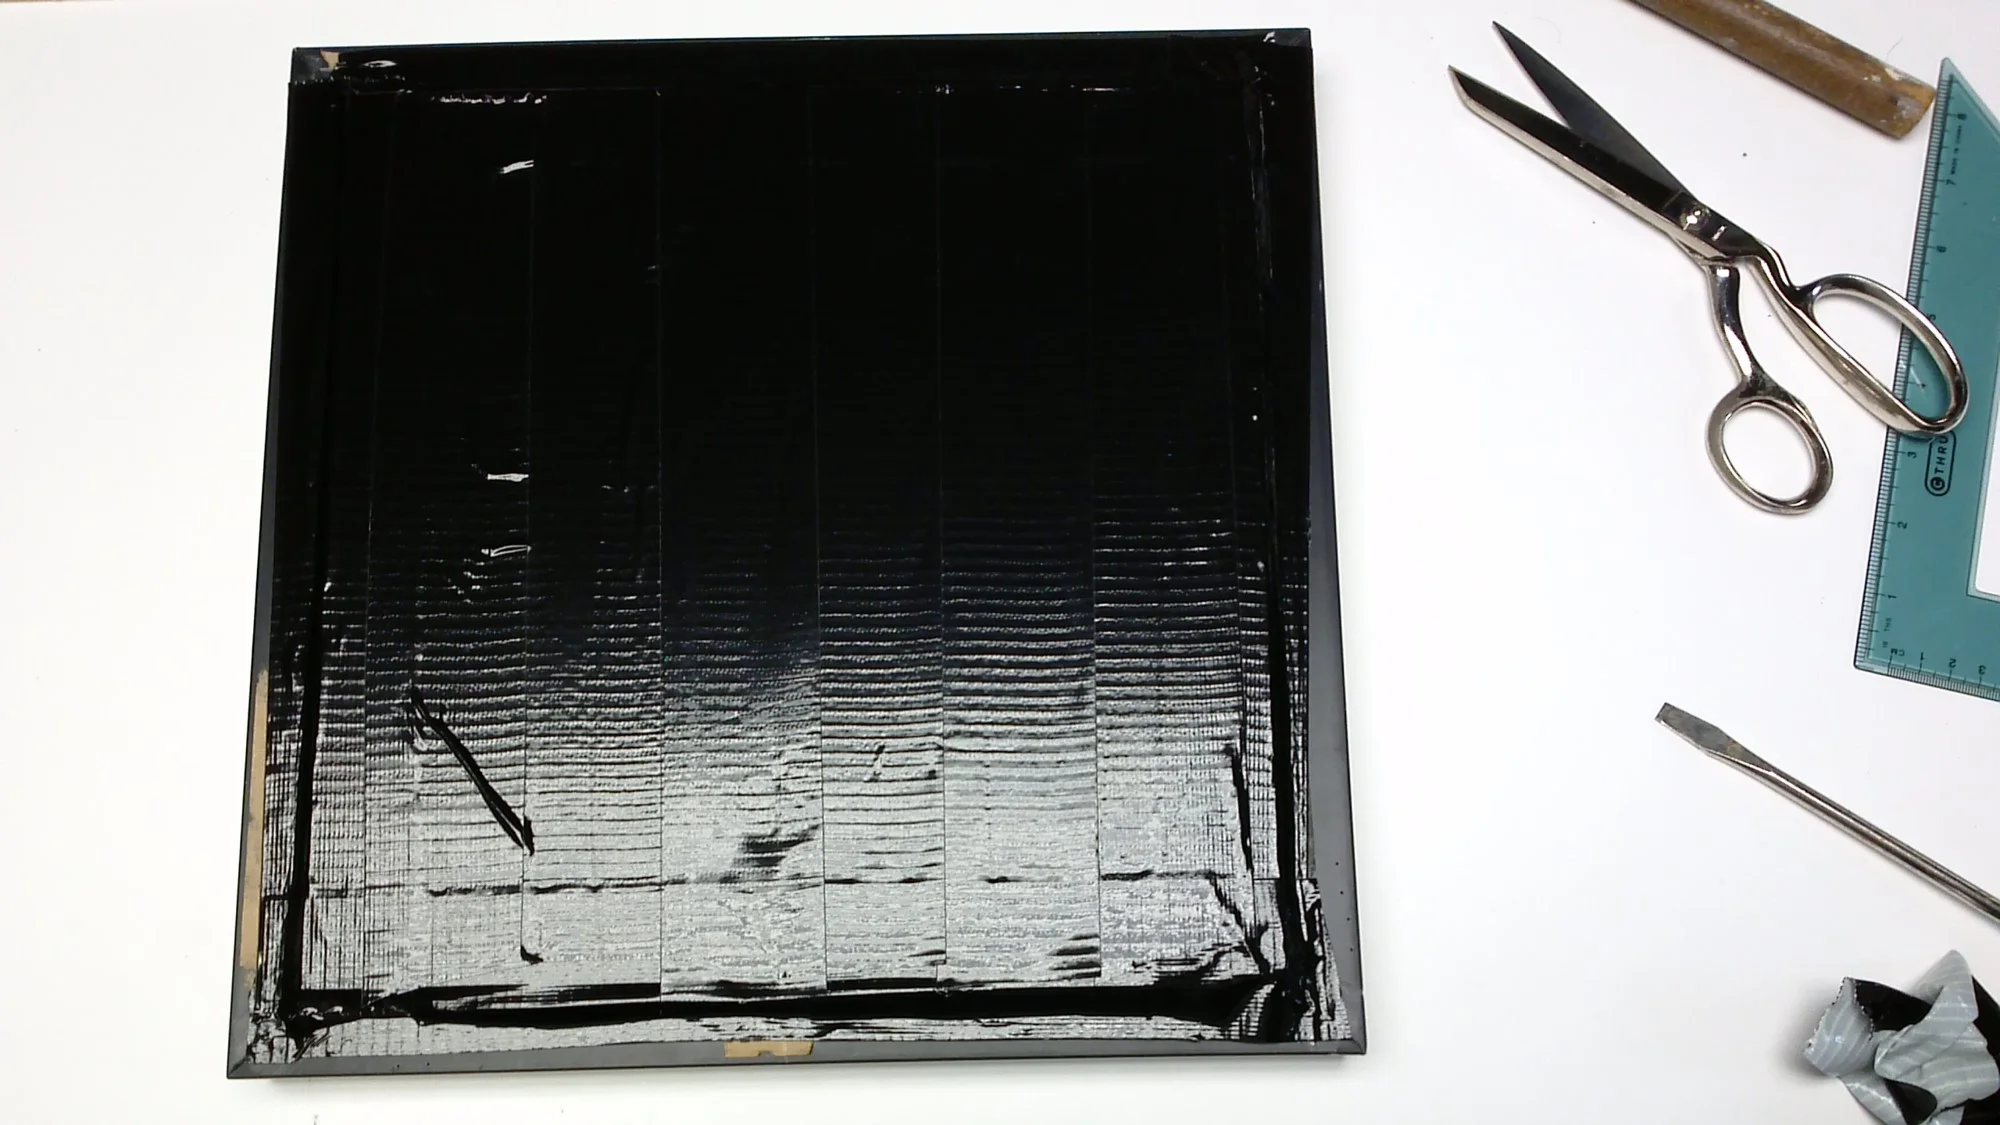
If you have a frame to put it in, then do it! I secured mine board to the back of my frame with some black duct tape so that it wouldn’t fall out and then I was done!
I love the way this project turned out and I’m thinking of taking on a bigger piece for the wall in my living room. The nifty thing about this kind of art is that you can show the negative space around your picture like I did here, or you can define the picture itself with running the string all around the picture and leave the space around it open. So creative! I’d love to see what you come up with! Leave a comment below and feel free to send pictures of your creations to hello@michaelhelwiginteriors.com and you may just see it posted here to inspire others too! Happy diy Sunday!
Michael is Principal designer and blogger at Michael Helwig Interiors in beautiful Buffalo, New York. Since 2011, he’s a space planning expert, offering online interior e-design services for folks living in small homes, or for those with awkward and tricky layouts. He’s a frequent expert contributor to many National media publications and news outlets on topics related to decorating, interior design, diy projects, and more. Michael happily shares his experience to help folks avoid expensive mistakes and decorating disappointments. You can follow him on Pinterest, Instagram and Facebook @interiorsmh.


